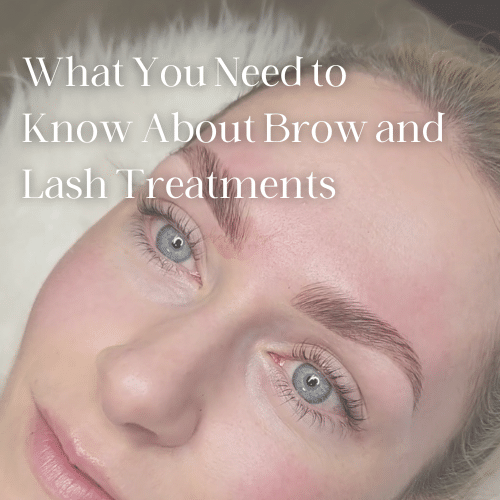
What You Need to Know About Brow and Lash Treatments
If you’re a bride, or beauty, that’s looking to see if you should get your eyebrows laminated and stained, or lashes lifted and tinted… please keep reading!
I recently had my eyebrows laminated, stained, waxed & trimmed, AND if that wasn’t enough I also did a lash lift and tint, conveniently through the same artist.
If there’s 2 things you should know about me, it’s that:
I have sensitive eyes and sensitive skin so I am usually very hesitant to try new things unless I fully research the treatment.
Because I am quite literally the face of my business, I am very cautious of what I do to my face and need to trust the artist I pick.
So per my usual style, let’s just dive in!
Here’s a quick recap video of my brow and lash transformation
Let’s first start off with who this isn’t for.
If you don’t want to feel more confident, look like you are more awake, and be able to just roll out of bed and go, then this isn’t for you.
All jokes aside, I’ll give you the real pro’s and con’s list below and then you decide 🙂
First up: Eyebrow Tinting, Waxing, and Lamination:
I absolutely loved this way more than I thought I would.
I am someone who always prioritizes filling in my brows because they are thin and sparse and I have a couple of gaps.
Because there are variations of how deep you can go with the tint, I recommend trying this out beforehand to get comfortable with it.
Myth Debunked: I thought my eyebrows would be frozen in one place but I can brush them any way I like.
The Facts:
A brow lamination lasts about 4-6 weeks.
The stain will last anywhere from a few days to 10 days. So it’s important to follow the aftercare instructions for the best retention.
When scheduling a brow stain/lamination, make sure you have a 2-day buffer afterward because you won’t be able to wash your face, excessive sweating, wear makeup, receive any other eye or facial treatments, spray tan, or spend too much time in the sun.
You must avoid any Retinols, anti-aging products, acids, or exfoliants from 3 days before until 3 days after.
You want to prioritize moisturizing products around the brown area instead. After 48 hours you can use a brow conditioner.
Now for the pros and cons…
Pros: They give you a lifted youthful look and for doing make up, they are surprisingly easier to work with than non-laminated brows. It’s easier because you can see where you need to fill in using less makeup product, therefore avoiding having too dark of brows, which I know is a common “ick” for my clients.
Cons: you won’t know if you have an allergic reaction until 2-3 days after the process, so I recommend trying this before the wedding. Also, no hot showers or baths within the first 48 hours because it can cause the brow to frizz or curl.
Next up, Lash Tinting and Lift:
Important to know: there are 2 different types of lift, a curve, and a L shape.
Curve is going to look the most natural because it mimics the look of curled lashes. Curve shape will still give you the flexibility to add a strip of lashes on top.
L shape is a more dramatic effect if you really want that extra length. It will open the eyes more. With an L shape lift, you would have to forgo lashes on the wedding day, or have an experienced makeup artist apply individuals on the underside of your lashes (I’ve done this before and it turned out so beautiful).
Here’s the scoop:
If you have super short lashes, you may not be an ideal candidate for a lash lift.
A lash lift/tint lasts about 6-8 weeks.
Tinting helps dramatize your natural lashes, this is great no matter what color you lashes you have naturally.
Doing a tint will also aid in the blending process of your natural lashes with any false lashes.
If you have blonde or red lashes, you may want to try a brown tint if black mascara is too dramatic of a change for you.
When scheduling a lash tint/lift, make sure you have a 2 day buffer afterward because you won’t be able to wash your face, excessive sweating, wear makeup on the eyes, receive any other eye or facial treatments, spray tan, or spend too much time in the sun.
Now here are the pros and cons:
Pros: It gives you that open eye look, so you appear more awake, less tired, and the eye looks lifted. You don’t have to wear mascara if you don’t want to, and it’s less maintenance than lash extensions. I consider this a pro, but in case you end up with too curly of lashes, you can have your professional reverse it right away with a relaxer.
Cons: you won’t know if you have an allergic reaction until 2-3 days after the process so I do recommend trying this well in advance before the wedding. You must avoid rubbing your eyes. You must make sure to avoid harsh skincare products or products containing oils. Tubing mascara only, no waterproof.
Overall, I can now confidently recommend a Curve Lash Lift (for clients wanting to still wear lashes so they can go and look cute for the honeymoon), as well as highly recommend a brow lamination.
Still have questions?
Feel free to drop a question in the comment or DM me on IG @chelsearosebeauty
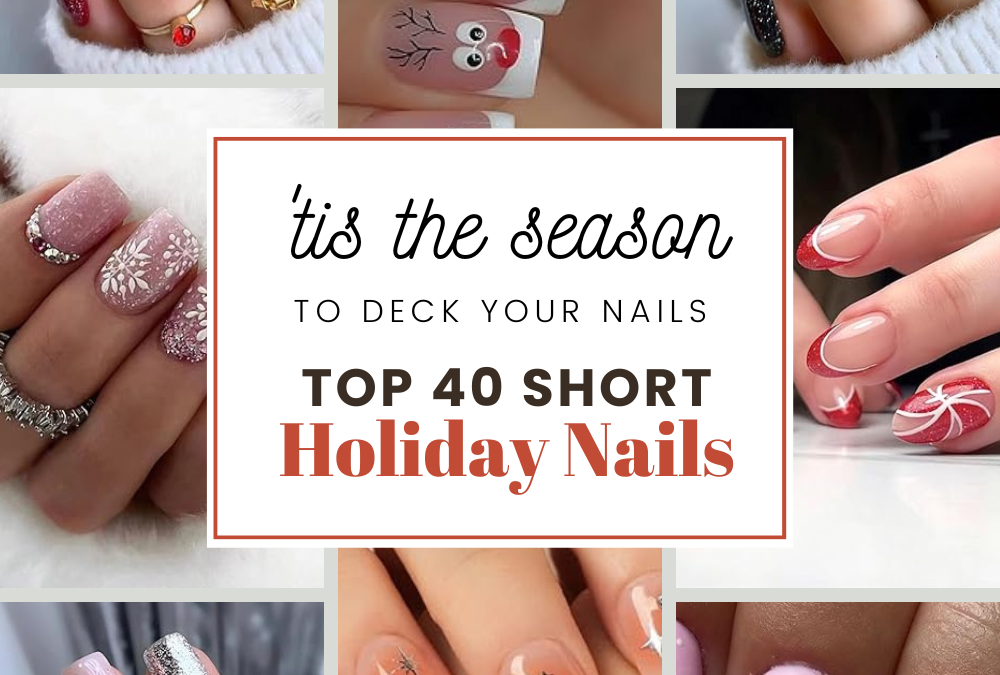
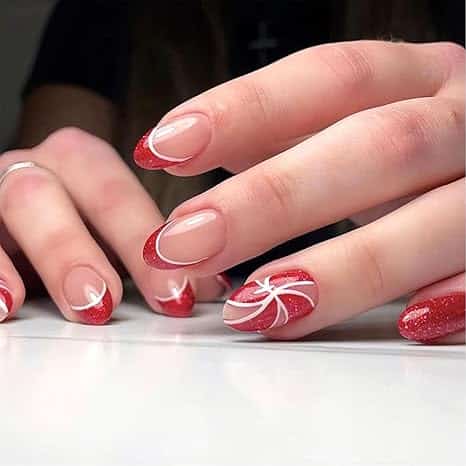
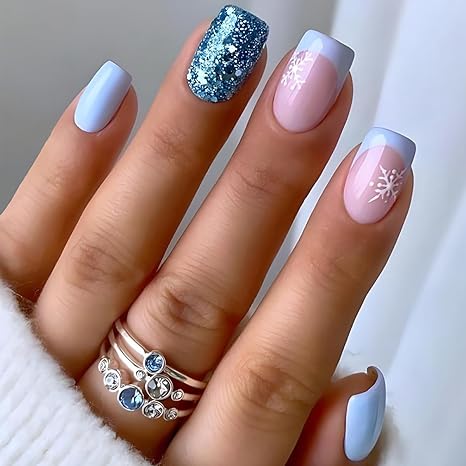
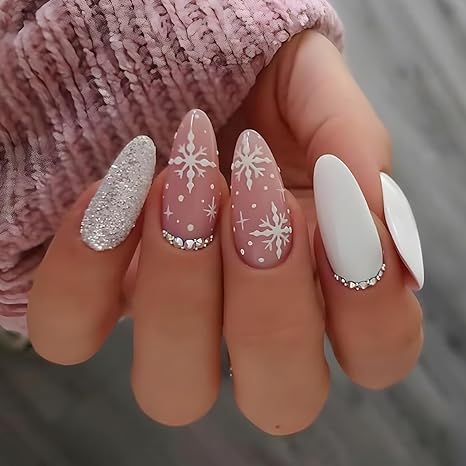
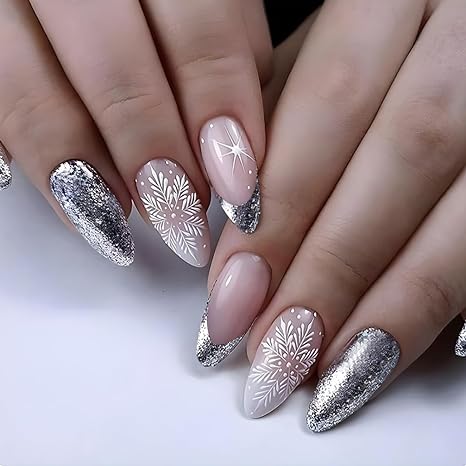
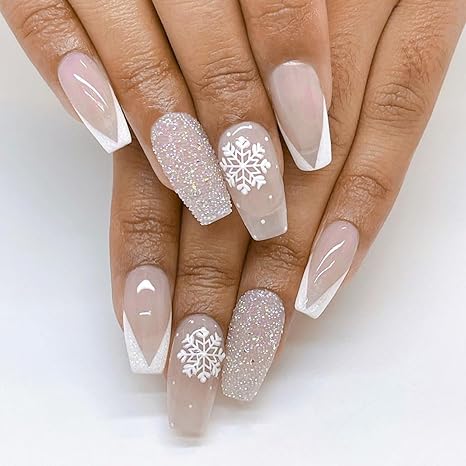
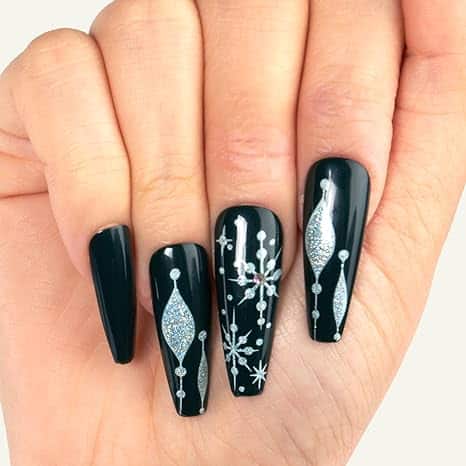
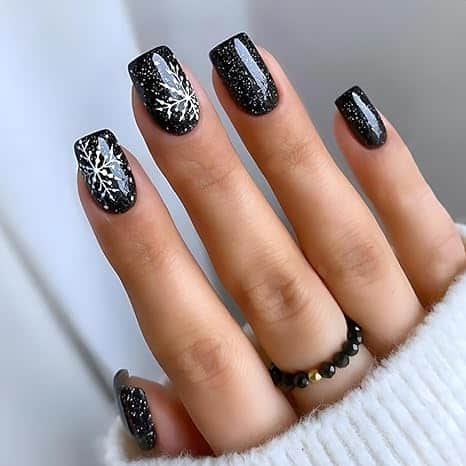
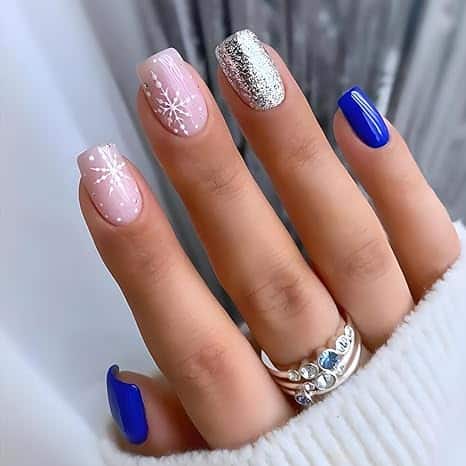
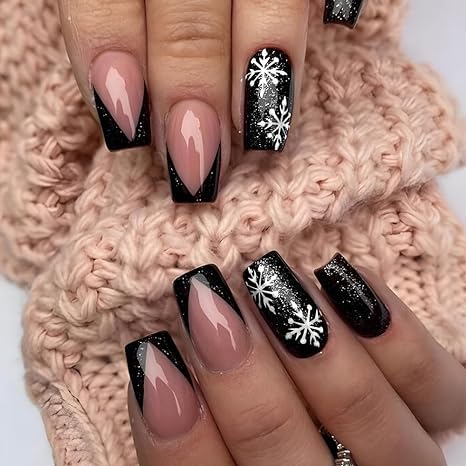
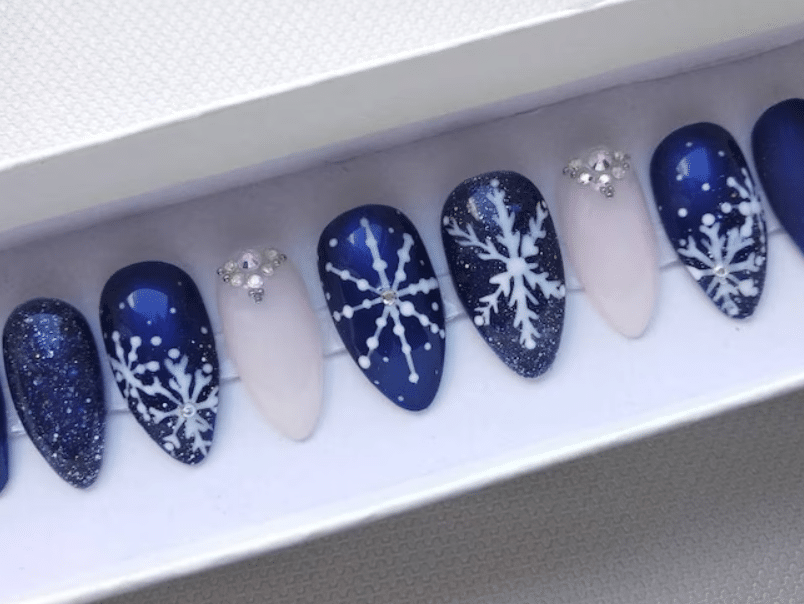
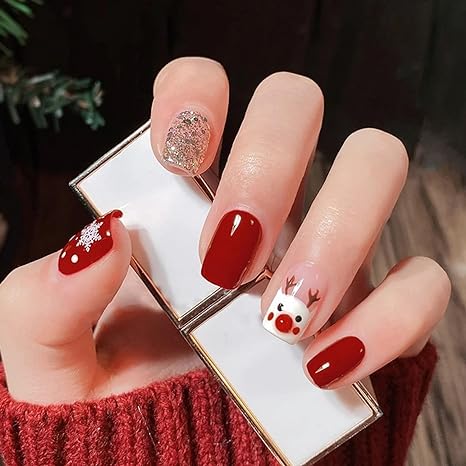
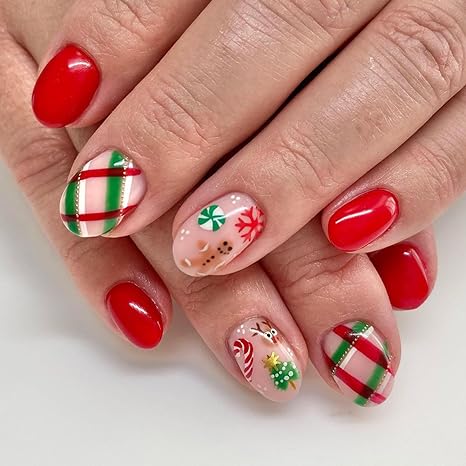
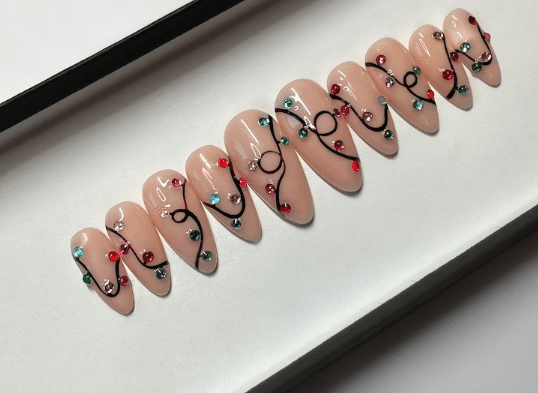
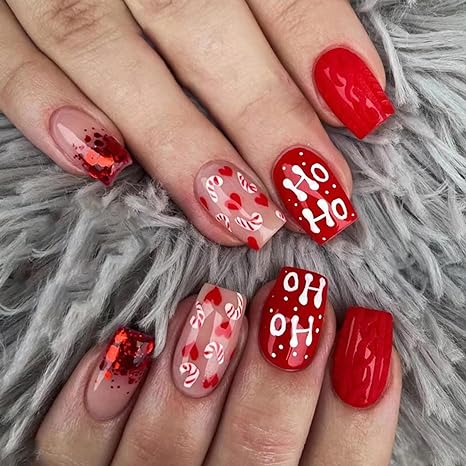
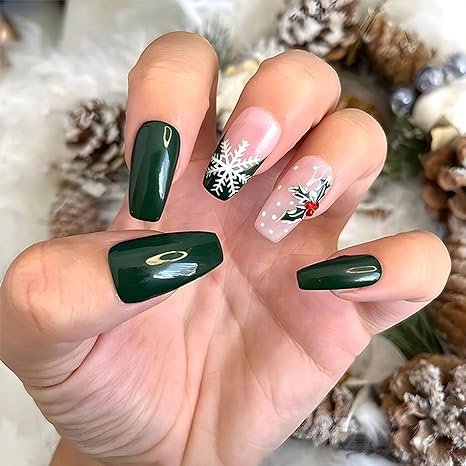
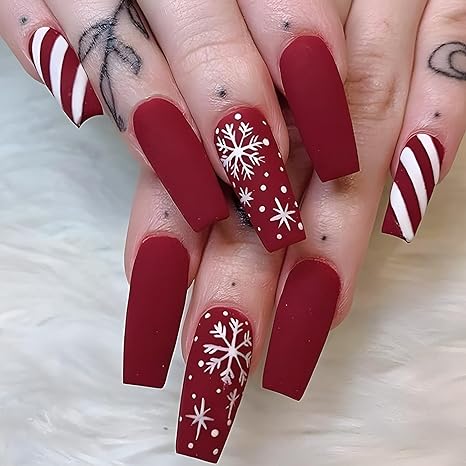
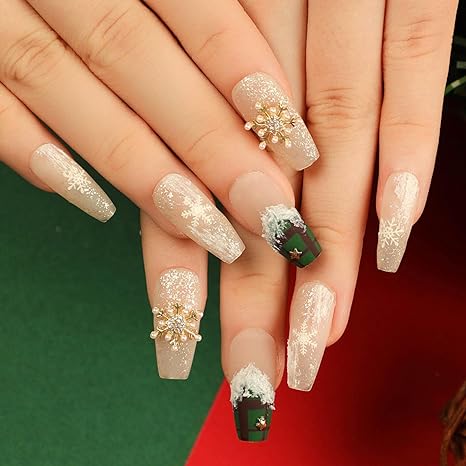
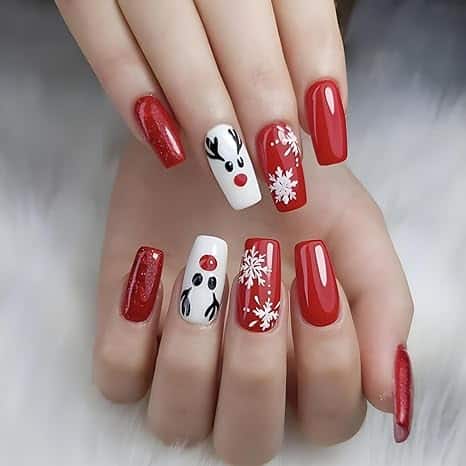
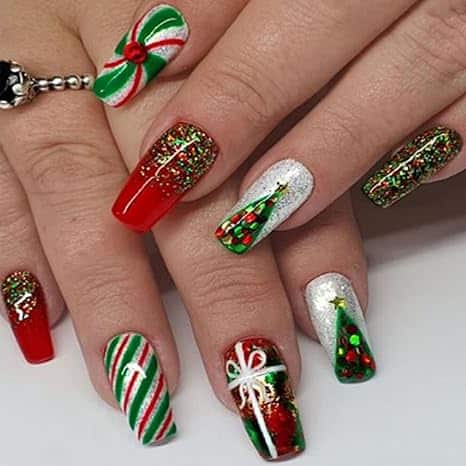
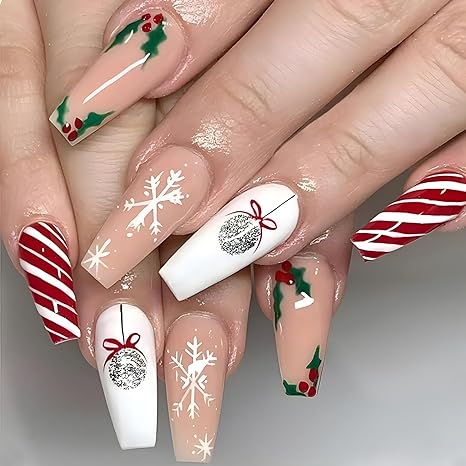
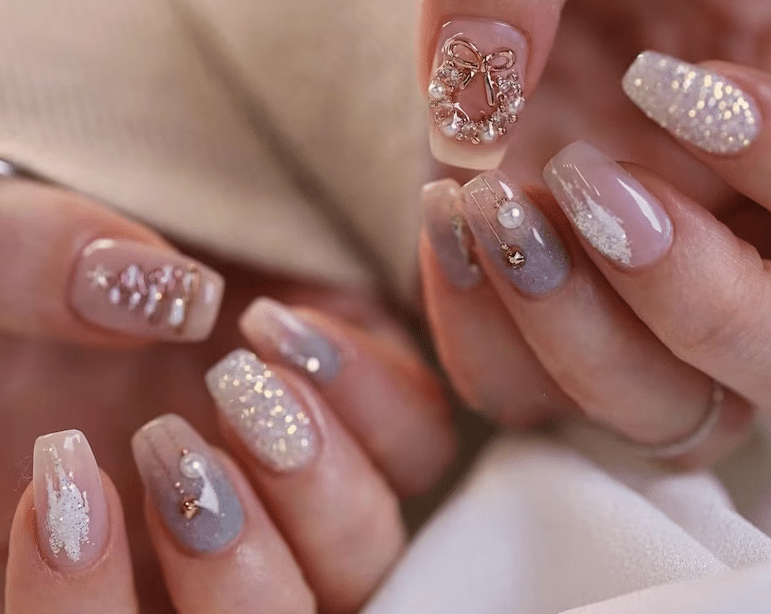
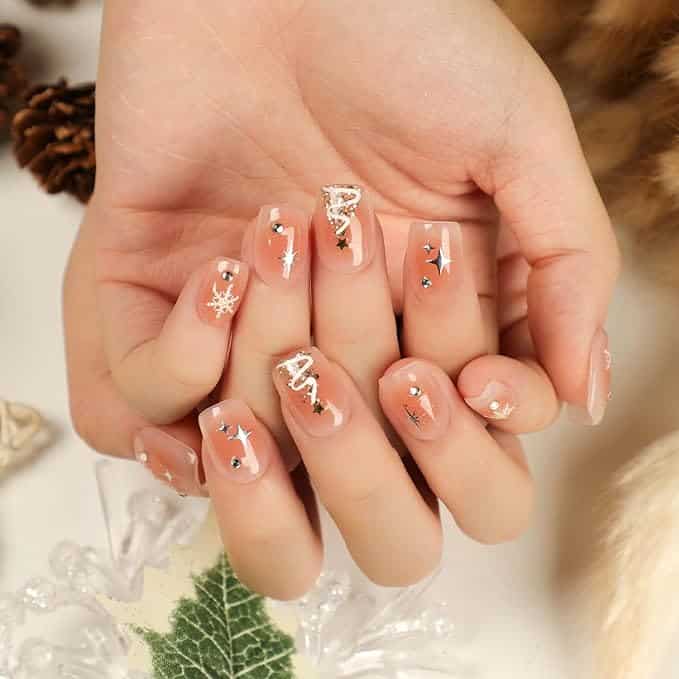
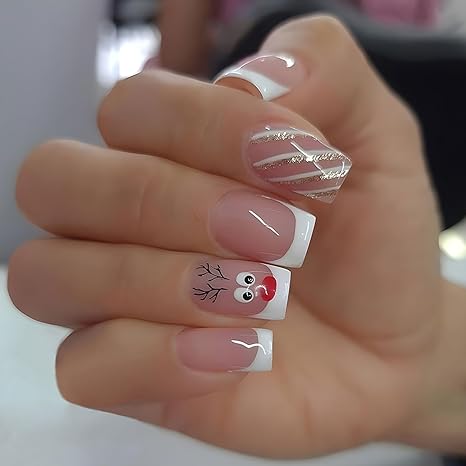
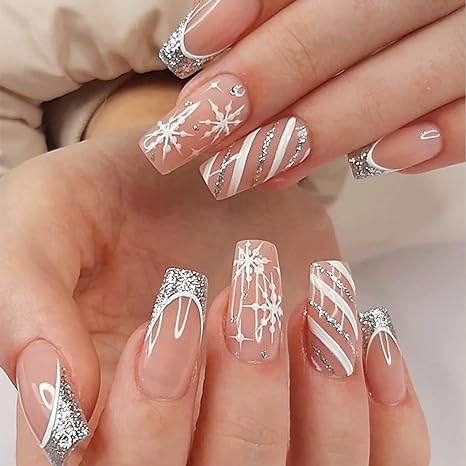
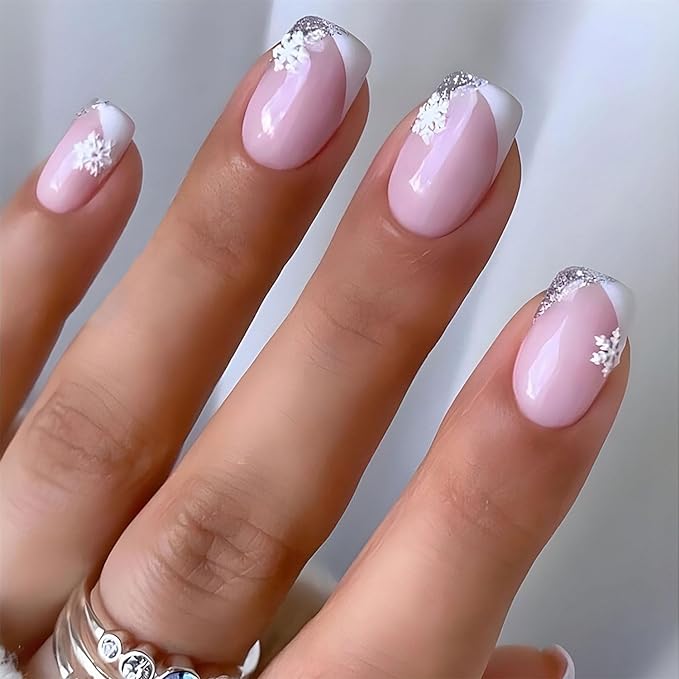
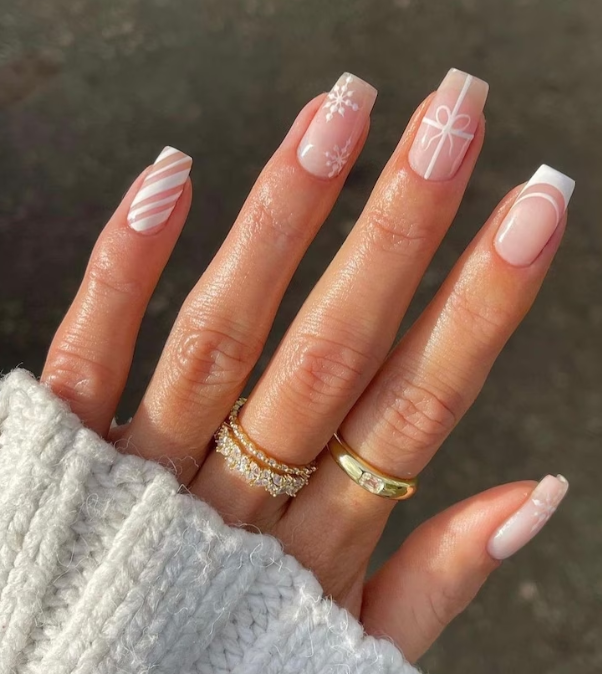
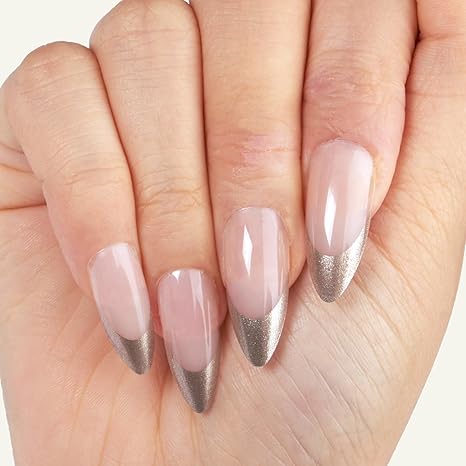
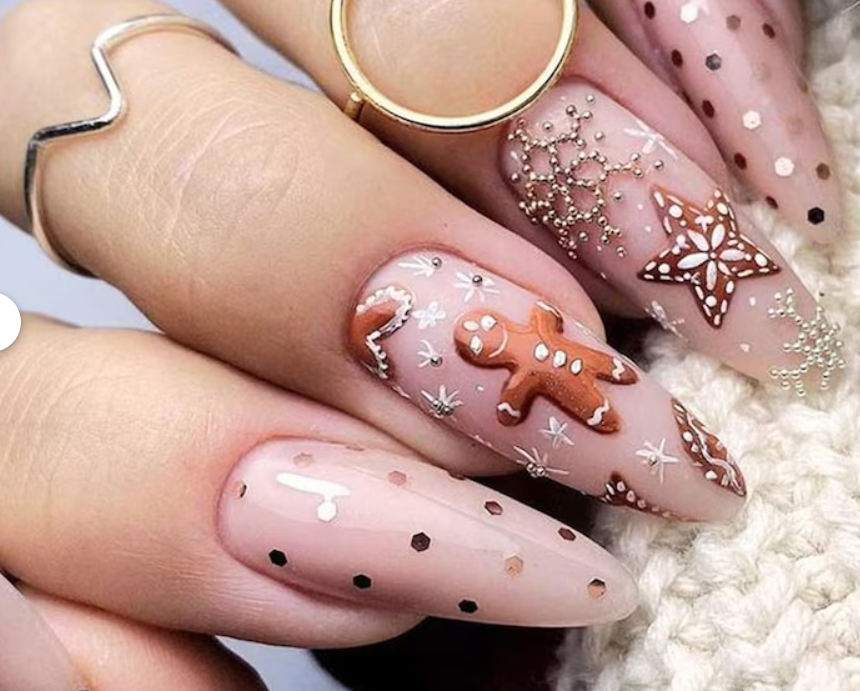
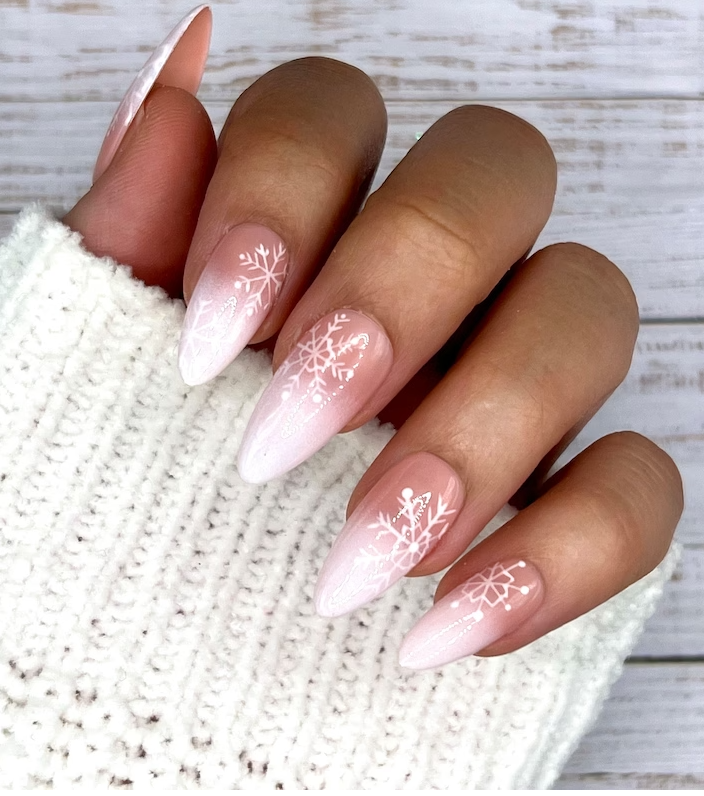
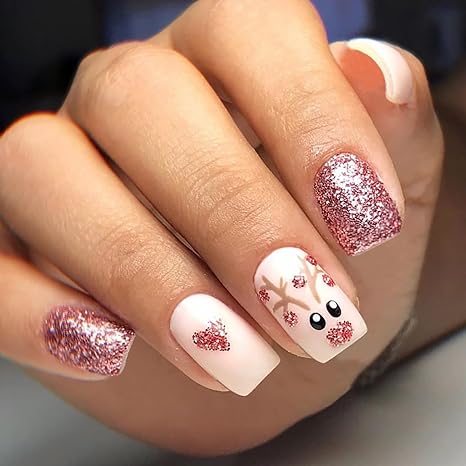
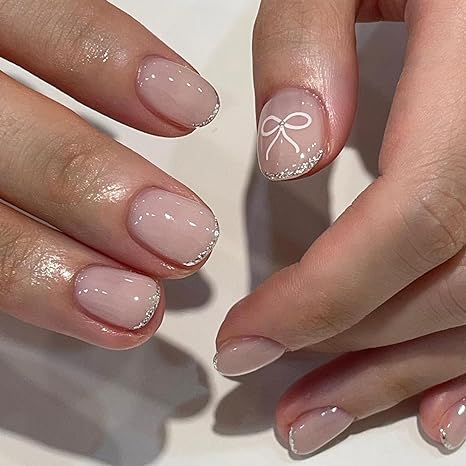
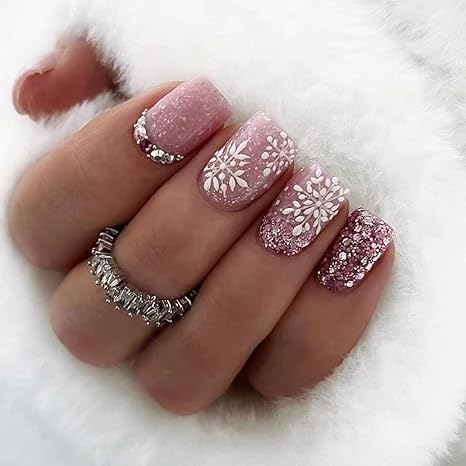
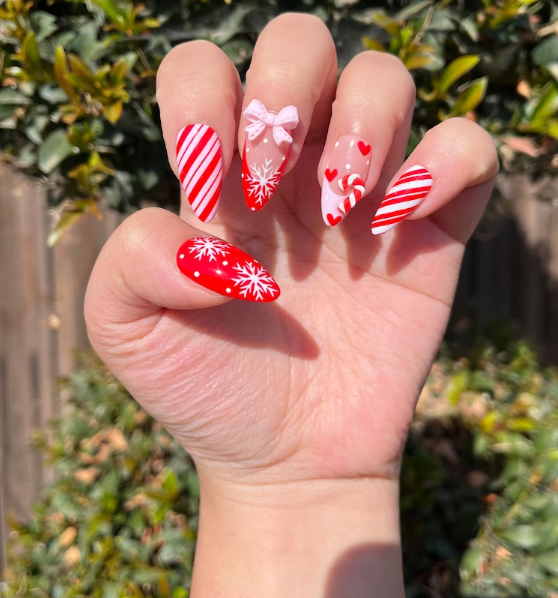
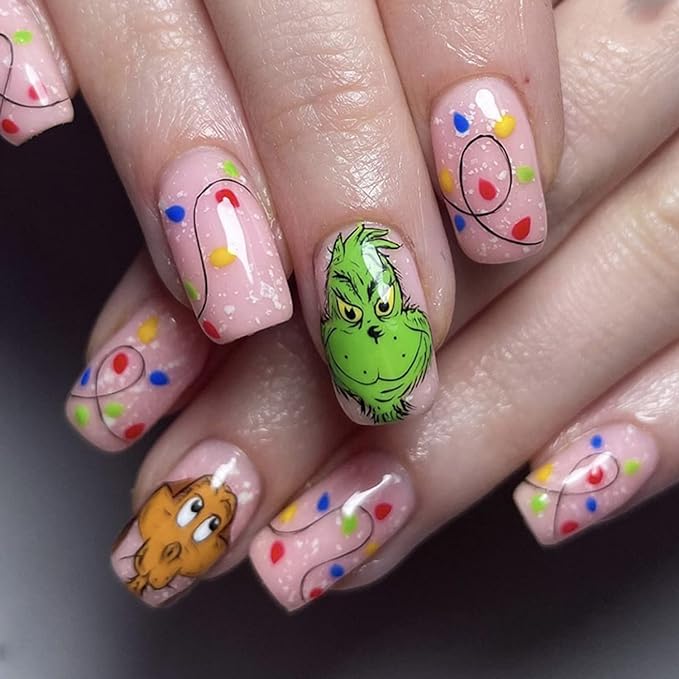
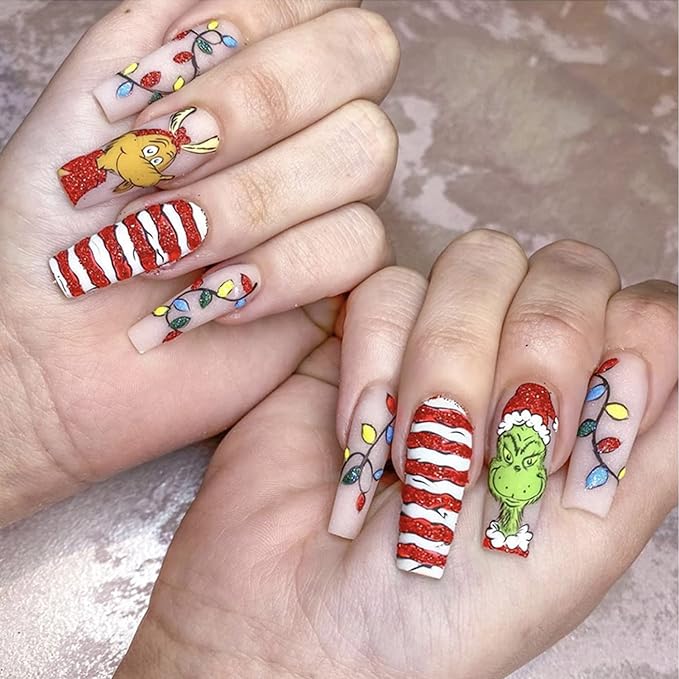
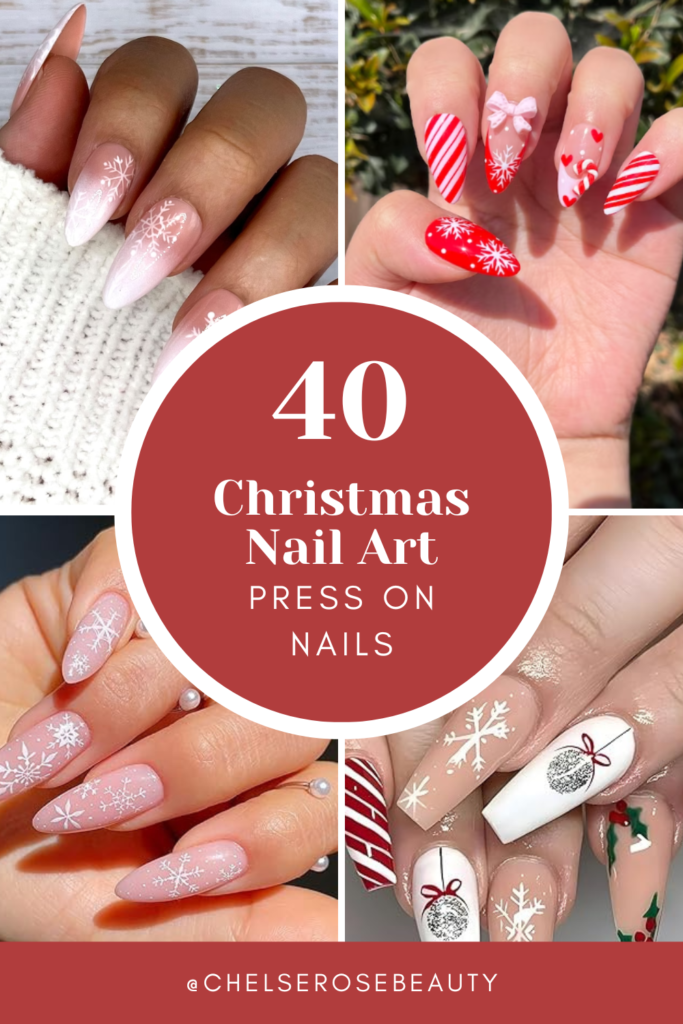
It’s time for Christmas nails! Whether you want to go with frosty winter nails, simple christmas nails, or festive holiday nails, I have the top 40 christmas nails designed for you to rock this December.
If you’re like me and dislike having to spend hours in the nail salon, shop the links to my pressons through my Amazon affiliate links and Etsy links (great for custom gift shopping ideas too!)
I absolutely LOVE the fast and easy method of press on nails so much so because I can do it myself in the comfort of my home and I have gotten so good at applying them, they can last up to 3 weeks!
Comment and let me know if you want a blog post on how I get my press on nails to last up to 3 weeks at a time!
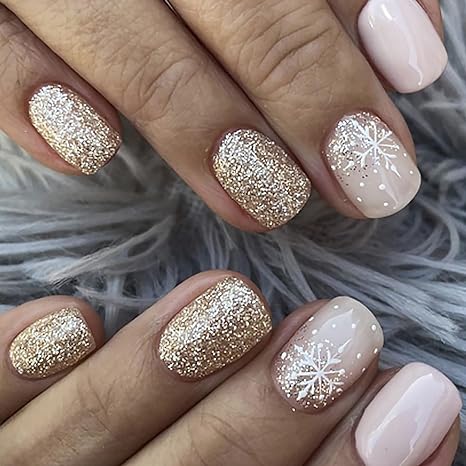
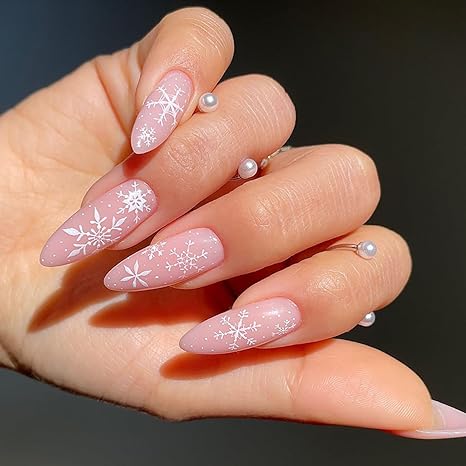
Now, let’s start off with sparkly winter nails:
Psst! I have included links to shop the press ons or you can just save this post to reference at your nail salon later.
Your Beauty Reset Routine for the First of the Month
In case you needed a reminder, it’s a new month!
A new month feels like a productive Tuesday to me. I love the fresh energy that a new month brings. Now is the perfect time to plan out your month in terms of your beauty routine. As a very detail-oriented beauty expert, I love to plan out my month in advance so I can spend less time stressing about my look or wondering if I added my favorite body wash to the cart.
Have you ever been taking a shower and noticed you need to shave but then realized your razor is dull so you hop out of the shower in a frantic search for a new razor blade only to find you have none even though you swear you just bought some? And now the bathroom floor is soaked…ugh.
That is exactly why I made you a checklist to go through at the first of every single month so you can stay organized and take a mental load off.
I’m going to have you scheduling all of your beauty appointments, washing your brushes, throwing out any expired products, and giving away unused products if they’ve been just sitting on your shelf (Trust me, I know this one is hard, I do it too), but you’ll be thanking yourself later when you calmly show up to your hair appointment with your favorite booked-out hairstylist. And no more running out of bath soap or razor blades!
Here’s your list! Comment below and let me know if it helps you!
In a world engulfed in the latest beauty rituals & over-scheduled lifestyles, it’s no wonder you may find yourself still exhausted even after your weekly Epsom salt bath.
Photo from Canva
Although these things are nice, true self-care isn’t just sheet masks & bubble baths. It’s quite literally taking care of YourSelf.
“But how do you do that? How do you know if you’re doing it right? Can’t I just do what influencers do and call it a day? Why am I still stressed out?”
Well, are you checking in on yourself?
Like you would a friend. “Hey, I thought of you today & hope you’re doing alright. I miss you and want to get together next week if you’re free”
Do you do that with yourself, but like, every day?
I”ll be the first to say I don’t, but I’m working towards it on a regular basis.
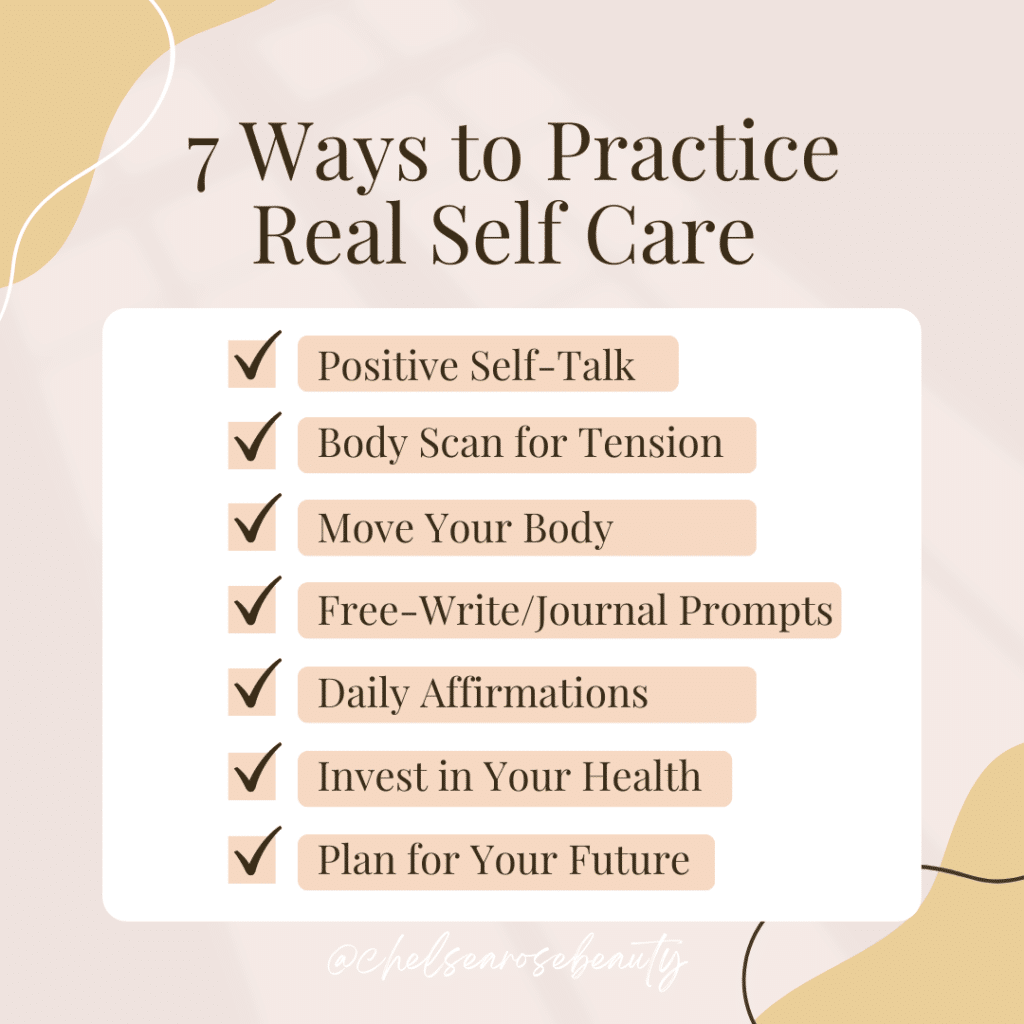
I do know that the more I practice real “self-care” the more I feel like myself, but better, always new, refreshed, vibrant, and blissful. It also makes me feel more joyful, giving, radiant, and beautiful. Taking care of yourself is not limited to lengthy skincare routines, but maybe your skincare routine can also be a time you use affirmations to uplift yourself.
Does taking bubble baths sound like they’d be nice? But then you get in and you’re just stuck with your overwhelming thoughts? Bring a journal & some colorful pens with you and just let it out, every thought. and then let it go.
Don’t let another day go by without recognizing the things you do already do to take care of yourself AND also see what’s missing.
Ask yourself what YOU need. Trust you will always receive the right answer.
Photo from Canva
Here are some simple questions to start asking yourself. You can do this by free-writing in a journal or just spending a couple of minutes on each question to think about.
Am I consistent with exercising &/or walks to help relieve mental stress & make me feel more strong & confident in my body?
Am I eating nourishing foods in balance with sweets or treats?
Am I properly hydrated?
Are my hormones balanced?
Am I legitimately taking care of myself?
When was the last time I intentionally took myself out on a solo date? (there’s a difference between getting your nails done because you “need” to versus arriving at the nail salon grateful that you get to soak your feet & have your arms rubbed for the next 2 hours while sipping Champagne).
Do I talk to myself nicely or am I consistently catching myself saying mean things I would never say to a friend?
How am I doing today? What happened today that evoked an emotion in me? Let it out, girl!
I encourage you to ask yourself these questions. No shame in feeling discouraged if the answer is not an honest Yes. Avoidance is typically a sign of what we actually need to focus on. Let’s face it now. A little discomfort now beats a bridezilla moment on your wedding day!
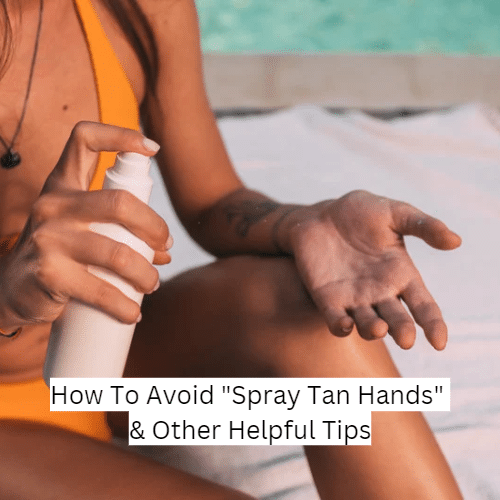
How To Avoid “Spray Tan Hands” & Other Helpful Tips
About to get a spray tan for New Year’s? If you are, then you’re like me and need to exfoliate and shave tonight (more on when to get your tan later) Worried about “orange hands”?
Well, fear not, I’ve been using self-tanners since middle school and worked as a spray tan technician for 2 years so I’m here to share with you my key tip to avoid ever getting orangey, i-can-tell your-tan-is-fake hands when you self-tan or spray tan.
Now there are two parts to this, here we go:
If you are self-tanning, always slather your hands & feet in plain lotion before applying self-tan. The spray tan version of lotion is called Barrier Cream, they should have it in your tanning salon, but it doesn’t hurt to bring your own lotion.
Do tan your hands. Otherwise, they will look significantly lighter than the rest of your body. The other tell-tale sign your tan is fake lol.
BUT the trick is you need to CAREFULLY clean up your hands after.
Here’s how: For Self-tan, you need to wash (with cold water) just the palms of your hands with soap and be careful not to go too far past the first wrist line. Carefully pat dry your hands and re-apply plain lotion.
For spray tan, you take a baby wipe and rub the wipe between your palms and then dab around the edges of the wrist and tops of hands. Then when you get home you can wash your hands like above.
Always reapply the lotion on your hands after so it’s an even natural tan.
Now, avoid water for 8 hrs (unless your tan is a rapid one that has you rinse after 2-3 hrs).
How to prep for your tan:
24 hrs before your tan application do the following
I personally like to take a bath so my skin can soften & get hydrated and ensures any dry patches won’t ruin my tan
Exfoliate. You need to use a body scrub or an exfoliating mitt to remove dead skin cells and/or old tan.
You need to closely shave your entire body (or not, it’s your choice). But don’t think you can fully shave after your tan, you’ll risk streaking it.
Apply lotion all over the body and wear loose clothing to bed (and the next day for that matter).
The Day Of Your Tan you need to do the following
Take a rinse, and wash everything real good but no exfoliating or shaving.
Do NOT apply deodorant or lotion and no sweating. If you do have to take a shower close to your tan appointment make sure there’s at least 1 hr of dry time.
Wear dark, loose clothing that makes you look homeless or bohemian (think sweats & over-sized shirt or a long flowy dress).
Aftercare for your tan:
Rinse your tan with cold to lukewarm, low-moderate pressure water until water runs clear (get everywhere!)
No soap (except armpits and bottoms of feet)
Pat dry gently with towel
No lotion today except hands
Avoid sweating, perfume, and any water activities
24 hrs after your tan application you can take a real shower
Avoid exfoliating, shaving, and any products containing alcohol, coconut oil, mineral oil, and any aerosol sunscreens.
I hope this helps you avoid any tan mishaps and has you looking perfect for New Year’s & any special events!!
If you’re a bride-to-be or have a super special event in your life that you are gearing up for, get on my mailing list today so you can be informed when I release my Beauty & Bliss Guides!
We are going to get right into the products and how-to’s of creating a snatched undereye.
But what does that even mean? Well, do you have dark under-eye circles you’d like to conceal without having to worry about creasing or darkness? Then let me teach you!
As a makeup artist that has had dark under eye circles since the fifth grade, I’ve tried many under eye concealers and methods and alas I have found a creaseless method that also makes make look bright-eyed and bushy-tailed.
This look will have you looking awake for early zoom meetings or snatched for your bridal makeup.
Here’s how:
Skincare is always a mandatory step in any makeup application so invest in it! I enjoy a luxurious skincare application with these energy drink eye masks. Do you need these every application? Absolutely not but you can use them 3-4 times a week for major brightening effects.
Eye cream. There are many I love: Monat (comes with a lovely cooling eye roller), and this one from Clinique.
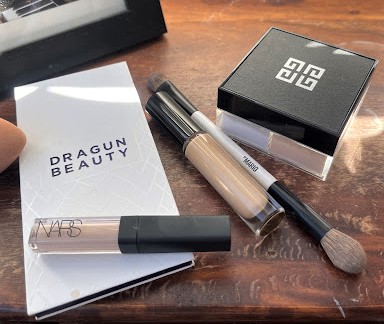
Concealer Number 1: Yes, I need 2 concealers. The first one I use is for color correcting. I will switch out occasionally what I use for this but lately, I love Pat McGrath Labs concealer in shade L6. I’ll apply this in the inner corner and blend out in the inner corner, undereye and even on top of the lid to even out skin tone.
Concealer 2: Once the first ones dries down and I’ve applied any eyeshadow, I’ll go in with a concealer that brightens. My current favorite is Nars Creamy Radiant Concealer in shade Light 2 Vanilla in the inner corner & outer corner for that lifted shape. Sometimes I need to go in with a second coating of that so if that’s the case for you just make sure everything has a moment to dry down first.
Setting Powder: This magical fairy dust gives me creaseless undereyes, which has always been a battle I forfeit to because I do have Crow’s Feet. However, if you’ve read my blog post on this powder you know the benefits of why I love it. I’ll apply this powder lightly with the powder puff it comes with all across the undereyes.
Last step is a brightening powder from Dragun Beauty. I swirl it around on my Makeup by Mario brush and stiffle it onto my inner eye area wherever I know my darkness is. Then I do a second application using a swirling technique.
Voila! That’s it! I do enjoy setting my makeup with the new Fix Plus Stay Over setting spray.