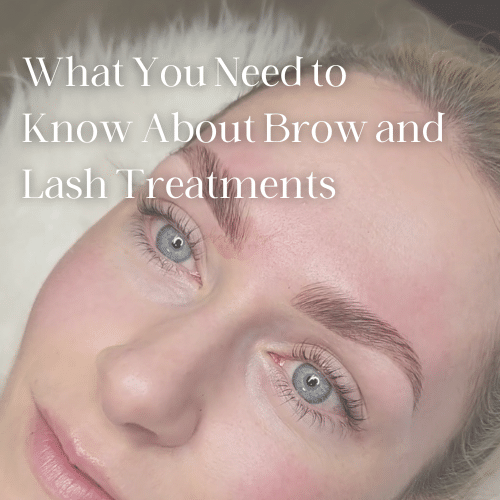
What You Need to Know About Brow and Lash Treatments
If you’re a bride, or beauty, that’s looking to see if you should get your eyebrows laminated and stained, or lashes lifted and tinted… please keep reading!
I recently had my eyebrows laminated, stained, waxed & trimmed, AND if that wasn’t enough I also did a lash lift and tint, conveniently through the same artist.
If there’s 2 things you should know about me, it’s that:
I have sensitive eyes and sensitive skin so I am usually very hesitant to try new things unless I fully research the treatment.
Because I am quite literally the face of my business, I am very cautious of what I do to my face and need to trust the artist I pick.
So per my usual style, let’s just dive in!
Here’s a quick recap video of my brow and lash transformation
Let’s first start off with who this isn’t for.
If you don’t want to feel more confident, look like you are more awake, and be able to just roll out of bed and go, then this isn’t for you.
All jokes aside, I’ll give you the real pro’s and con’s list below and then you decide 🙂
First up: Eyebrow Tinting, Waxing, and Lamination:
I absolutely loved this way more than I thought I would.
I am someone who always prioritizes filling in my brows because they are thin and sparse and I have a couple of gaps.
Because there are variations of how deep you can go with the tint, I recommend trying this out beforehand to get comfortable with it.
Myth Debunked: I thought my eyebrows would be frozen in one place but I can brush them any way I like.
The Facts:
A brow lamination lasts about 4-6 weeks.
The stain will last anywhere from a few days to 10 days. So it’s important to follow the aftercare instructions for the best retention.
When scheduling a brow stain/lamination, make sure you have a 2-day buffer afterward because you won’t be able to wash your face, excessive sweating, wear makeup, receive any other eye or facial treatments, spray tan, or spend too much time in the sun.
You must avoid any Retinols, anti-aging products, acids, or exfoliants from 3 days before until 3 days after.
You want to prioritize moisturizing products around the brown area instead. After 48 hours you can use a brow conditioner.
Now for the pros and cons…
Pros: They give you a lifted youthful look and for doing make up, they are surprisingly easier to work with than non-laminated brows. It’s easier because you can see where you need to fill in using less makeup product, therefore avoiding having too dark of brows, which I know is a common “ick” for my clients.
Cons: you won’t know if you have an allergic reaction until 2-3 days after the process, so I recommend trying this before the wedding. Also, no hot showers or baths within the first 48 hours because it can cause the brow to frizz or curl.
Next up, Lash Tinting and Lift:
Important to know: there are 2 different types of lift, a curve, and a L shape.
Curve is going to look the most natural because it mimics the look of curled lashes. Curve shape will still give you the flexibility to add a strip of lashes on top.
L shape is a more dramatic effect if you really want that extra length. It will open the eyes more. With an L shape lift, you would have to forgo lashes on the wedding day, or have an experienced makeup artist apply individuals on the underside of your lashes (I’ve done this before and it turned out so beautiful).
Here’s the scoop:
If you have super short lashes, you may not be an ideal candidate for a lash lift.
A lash lift/tint lasts about 6-8 weeks.
Tinting helps dramatize your natural lashes, this is great no matter what color you lashes you have naturally.
Doing a tint will also aid in the blending process of your natural lashes with any false lashes.
If you have blonde or red lashes, you may want to try a brown tint if black mascara is too dramatic of a change for you.
When scheduling a lash tint/lift, make sure you have a 2 day buffer afterward because you won’t be able to wash your face, excessive sweating, wear makeup on the eyes, receive any other eye or facial treatments, spray tan, or spend too much time in the sun.
Now here are the pros and cons:
Pros: It gives you that open eye look, so you appear more awake, less tired, and the eye looks lifted. You don’t have to wear mascara if you don’t want to, and it’s less maintenance than lash extensions. I consider this a pro, but in case you end up with too curly of lashes, you can have your professional reverse it right away with a relaxer.
Cons: you won’t know if you have an allergic reaction until 2-3 days after the process so I do recommend trying this well in advance before the wedding. You must avoid rubbing your eyes. You must make sure to avoid harsh skincare products or products containing oils. Tubing mascara only, no waterproof.
Overall, I can now confidently recommend a Curve Lash Lift (for clients wanting to still wear lashes so they can go and look cute for the honeymoon), as well as highly recommend a brow lamination.
Still have questions?
Feel free to drop a question in the comment or DM me on IG @chelsearosebeauty
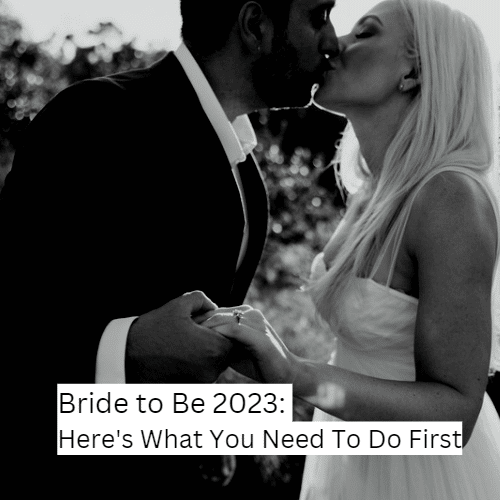
Bride to Be 2023: Here’s What You Need To Do First
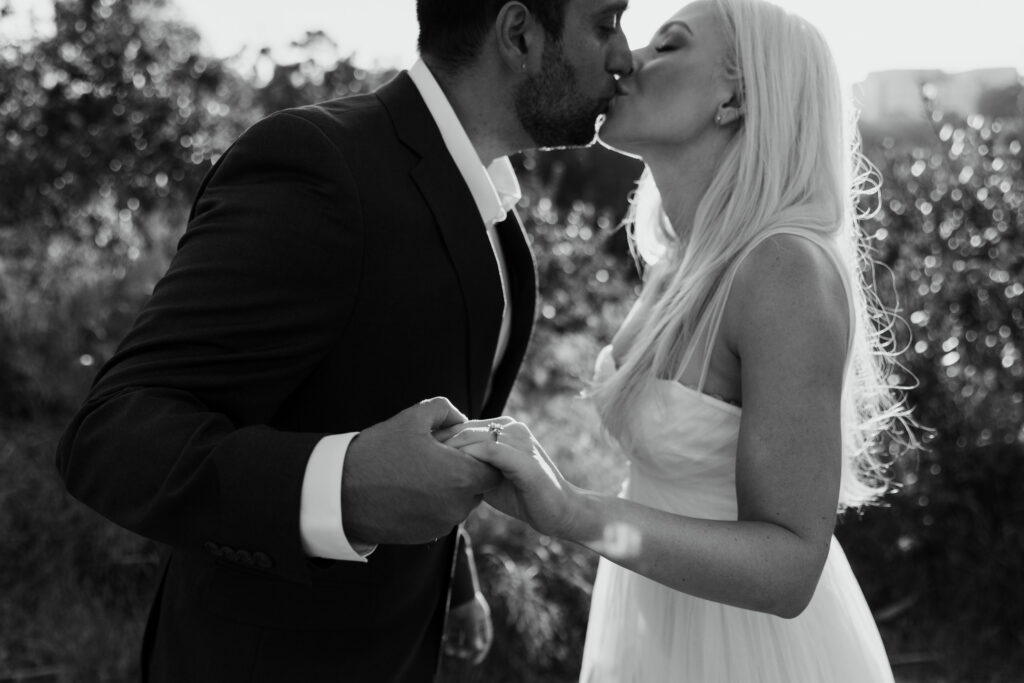
(Image by Dina Diaz Photo)
So you just got engaged…congrats!
It is engagement season after all. But what do you do now? If you’re what I like to call a ‘DIY Bride’ you’ll most likely be the one that wants to dive right into planning the wedding and getting boxes checked off.
Go you!
That’s great you want to start chipping away at your wedding to-do list but what about the vision? No, not the vision of the wedding, but the vision of yourself. You, as a bride. The bride.
Is this a lifestyle change for you?
Do you see that there’s going to need to be a game plan to reach your vision?
If you already see yourself ready to get married, can you envision yourself feeling confident walking down the aisle in front of all your family & friends?
If you’re anything like me, you won’t take your journey from “Miss to Mrs” lightly. You see it as an identity shift, and although it’s a sweet one, it can be a lot between the planning & holding that vision of your future partnership that can get through the tales of time.
There’s a reason why they make wine glasses that say “This is my wedding planning glass” and how why the Betches Brides podcast (great podcast btw) has the slogan “for the wedding obsessed and the brides that are stressed”. Wedding planning includes tackling not just logistics, but your emotions through this season.
It’s simple: planning a big life event like this (whether you’re eloping or not) has a lot of elements of stress to it. It can bring out sides of you that you didn’t mean to evoke: bossiness, people-pleasing, guilt, overwhelm, and of course bridezilla.
But what if you knew exactly how to avoid or at least face these emotions? That would be so helpful, right? Heck yeah!
So how does one do that, because it’s easier said than done.
Here’s an excerpt from my new e-book to give you a taste.
“Q: What to do when you start to feel nervous?
A: Redirect the present feeling into excitement. Feeling nervous can quickly become overwhelming and make you feel nauseous. Your body might feel scared. This is going to be just one very big moment in your life so get excited instead. You need this big energy you feel inside to help you remember this important day in your life. Let that empower you to feel so positive and focused on what’s about to happen in a positive way. Have gratitude for this moment that you get to live.
Try one or all of these to help center you: Put one hand on your heart & one on your belly and tell yourself, “I am safe”. Scream “I’m getting married today!”. Smile your biggest smile. Dance! Move that energy for a moment and then breathe in and feel the bliss that comes over you. It’s almost relaxing, like a high. That is your state of bliss. You are choosing to own the moment and control how this goes for you. This GETS to be your big day. Make it work for you.”
Subscribe to my newsletter to know when my new ebook is launching!
A lot of factors go into this answer so here are some questions to ask yourself right now:
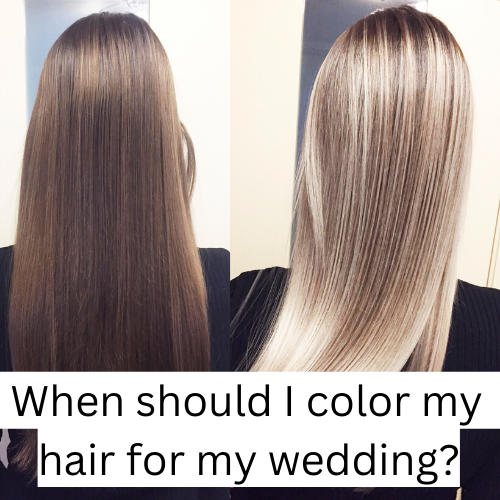
Do you currently have box dye in your hair?
Do you have a demi/semi-permanent hair color currently?
Do you want to make a drastic change to your hair?
Is your hair temperamental?
Are you unsure of what you want?
Are you nervous about how your new hair color would look?
The more times you answer “YES” the earlier you should start planning for your wedding hair color because typical hair color appointments are every 4-8 weeks. That means the more work that needs to happen to your hair to achieve your dreamy bridal hair look, the sooner you should start.
A quick way to figure out when to start is to have a consult with your current or new hairdresser.
If you don’t have one, look for one on Instagram or Yelp that specializes in whatever you want or currently have.
From there your hairdresser will give you an idea of what needs to happen.
Personally, since I’m a platinum blonde and envision myself having a more timeless blonde color for my wedding, we have started playing around with Root Melts and different toners.
But soon we will need to decide if I want low lights to bring in more depth all over. I also got a trim so I can avoid split ends from giving my hair a dehydrated look.
I’ll keep you posted on my hair journey on my Instagram!
HOT TIP:Book all of your hair appointments upfront. I recommend having your last hair cut at least 4-6 weeks out from your wedding day and your last hair color to be 2 weeks out (if you have noticeably gray hairs I would do it at about 1 week out).
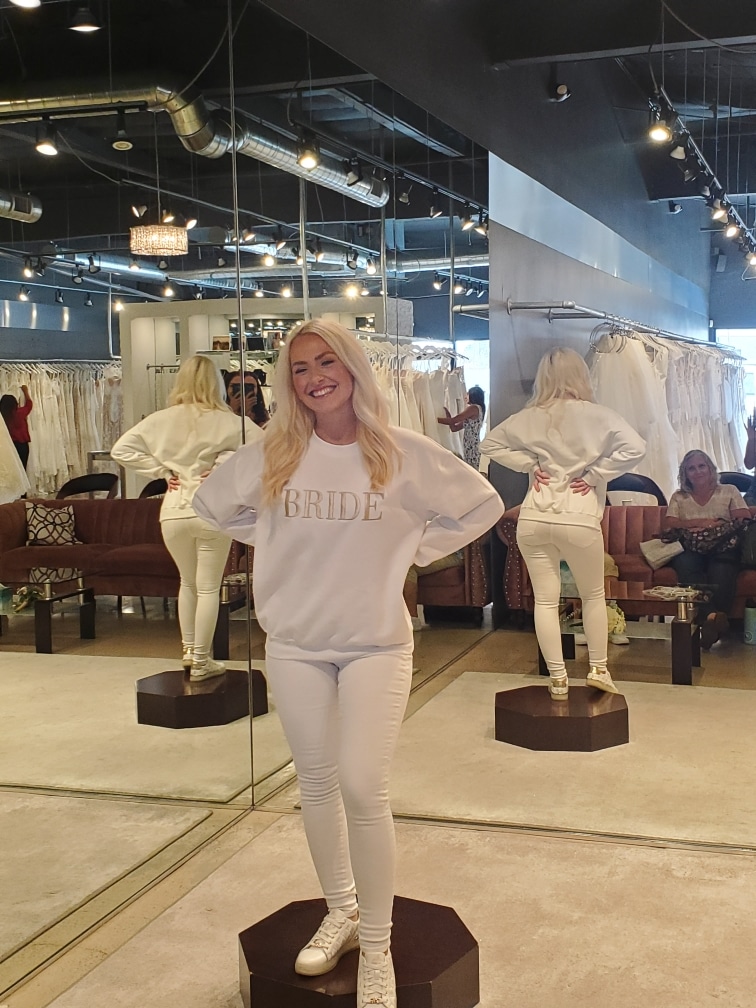
I was surprised to find that shopping for THE wedding dress, was harder than I thought. I thought it would be a super fast, easy decision for me, but it took me 3 shops and at least 20 dresses to try on. I was both underwhelmed and overwhelmed, resulting in feeling like I was stonewalling my own emotions. It wasn’t that I didn’t feel beautiful, it was just missing a huge wow factor in combination with feeling like myself but better. But finally, I felt what I was looking for. I was moved with a magical feeling of “this is the one” and didn’t look back.
So here is my experience at 3 different bridal boutiques in San Diego, CA. I’ll also share what I found helpful to bring and how to prepare.
First up was LUV Bridal in Linda Vista, San Diego.
I had the pleasure of having Sidney as my stylist. She was very sweet and pulled some beautiful dresses. Although I knew I was dead set on an Aline or a Ball Gown style, I really appreciated Sidney taking the time to walk me through the dress racks and allow me to pick which details I like about the dresses. I think this is why every dress she pulled was stunning and I loved them all. But at last, we had another bridal boutique to go to right after, so I knew I wasn’t prepared to say yes to the dress.
Quick note: one con about this stop, is there isn’t any privacy when showing your guests your dress and seeing it in the big mirror.
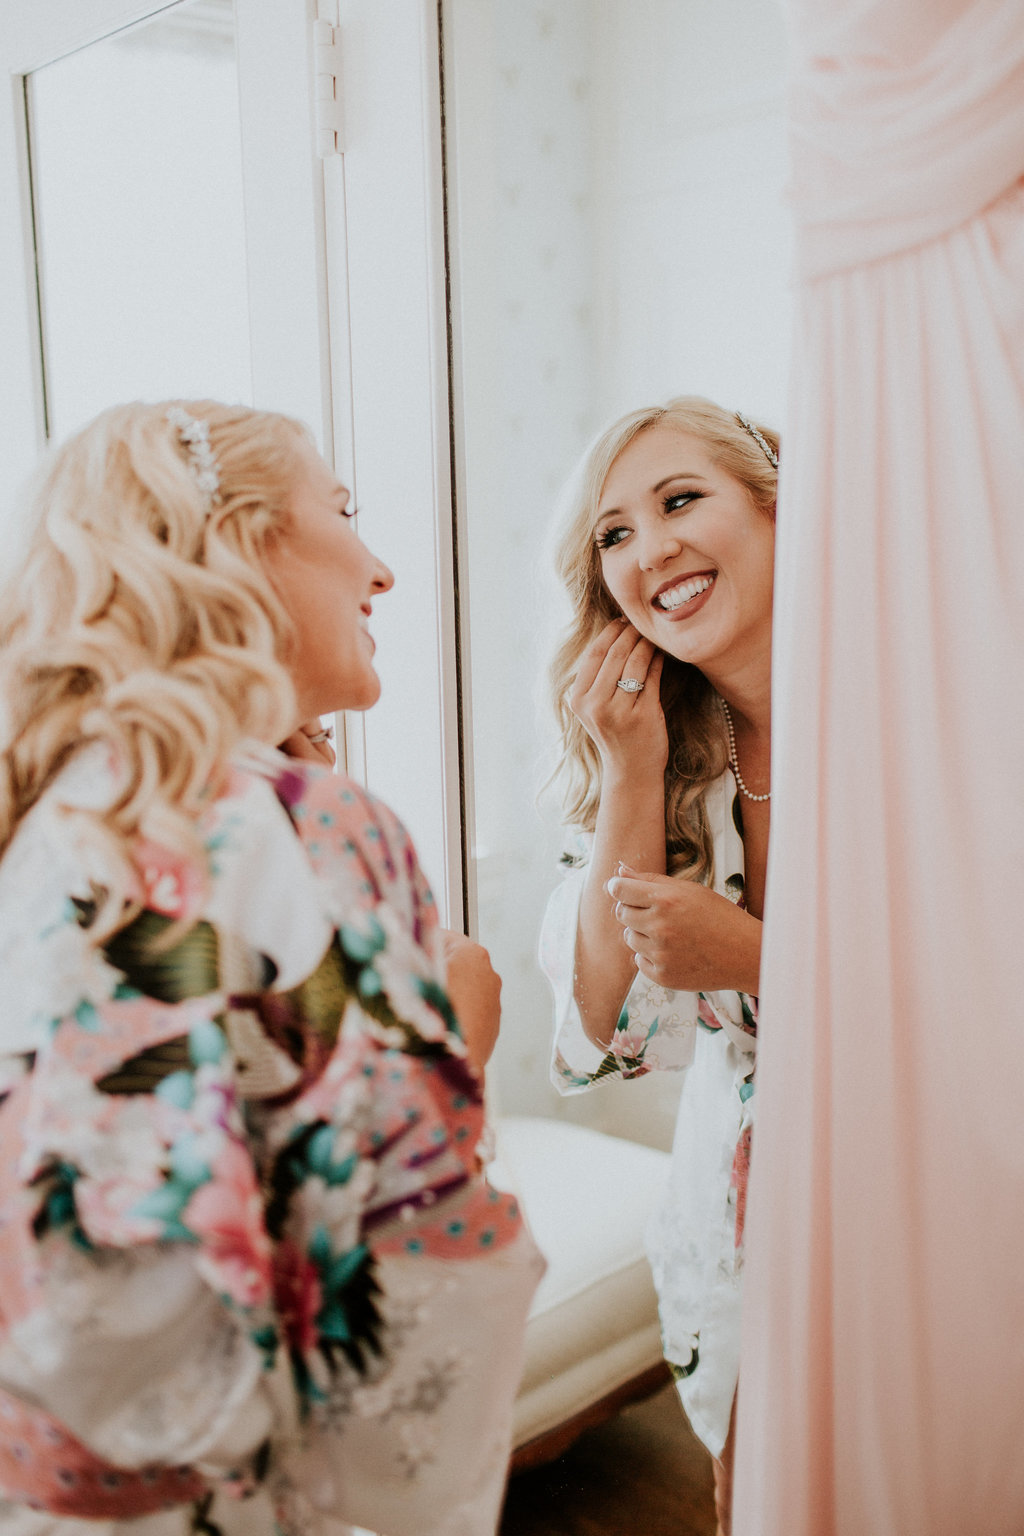
I had the pleasure of having Val as my stylist. She was so great at getting me to step outside my comfort zone and reminded me to embody how I was feeling in each dress. This helped me make decisions quicker on whether or not I liked a dress or if it didn’t stand up to a previous contender. She had so much patience and even allowed my bridesmaids to pick out a couple of dresses they wanted to see me in. Val always had the right amount of input to give and I really appreciated her opinion.
I ended up really loving a dress at Here Come the Bride, and even got to strut around the store and “Say Yes”, BUT I felt that I needed to sleep on it and come to a decision then.
I got home and looked at myself in all of the dresses that I adored, and was excited to make a choice in the morning.
That night I slept terribly. My mind wouldn’t shut off and I actually didn’t come to a clear decision when I woke up. I looked back at the photos again and was expecting to have a clear choice and as much as I was trying to talk myself into a dress I knew I looked and felt beautiful in, something was off and I felt like I needed to go try out some options that I didn’t get a chance to explore.
Quick note: Two adorable loving cats live here! If you are allergic or don’t like cats maybe skip this one or mention that to your stylist.
My unexpectedly final stop that afternoon was David’s Bridal in Mission Valley, San Diego.
Katherine was my stylist, and she was a saint. She spent her afternoon basically helping me find the one, but I knew halfway in, that all the other options were out and we were on to something. Ultimately, the one that Katherine picked out was The One. She even made me realize that a veil was the way to go, when before I was dead set on not having one.
Quick note: This place is huge and there are shoes, accessories, and even gifts and tons of other wardrobe options!
Here, are some things I thought were very helpful to prepare in advance, and to bring to the appointment:
-style your hair in curls and bring a hair clip. I know I will be wearing my hair up but most people usually style their hair around the dress, so do bring a clip to see your hair half up and up to see the vision start to come together.
-do wear nude or white undergarments. If you already have your shapewear, wear that.
-bring a heel height you plan on wearing. At the first 2 shops I didn’t wear heels but at David’s bridal Katherine recommended it, especially because I was walking around there more.
-if you plan to have a spray tan, get one two days before your appointment.
Some helpful questions to ask at the appointment:
-ask for a petticoat if you are trying on an A-line or Ballgown dress and want the look of more volume. Katherine did that for me at David’s Bridal, and it really helped me envision myself on the day of.
-ask to see if they have another fabric color to temporarily line the dress so you can see how it looks. Val did that for me at Here Comes the Bride and it really helped me envision the color I would actually choose for the Day Of.
-if you are trying on strapless or spaghetti strap dresses, ask to try on some sleeve options. This can dramatically change the dress style, and could be the one that way!
To close this blog post out, here is an ode to all the other dresses that were so beautiful but were not chosen:
To all the wedding dresses I loved, I’m sorry. My choice wasn’t easy and I know I strung some of you along. What we had was so great, but ultimately one stole my heart. I loved you all in different ways, and some of you even showed me the infinite possibilities of a new wedding theme but I had another fantasy call.
I want to just hop into it and give you the helpful tips & tools I’ve learned but let me give you a little background first.
I got engaged in May 2021 and am planning a Spring 2023 wedding. My fiance and I took our time to enjoy being engaged (it’s literally been my favorite!) and because we were set on a Disney Cruise Wedding for so long and just waiting and waiting for dates to become available, and for our guests to be comfortable, the Disney magic seemed to be fading and we felt it was time to set sail without that dream and just start a new one. So we did, so here we go!
Enter Destination Wedding: Vegas. It’s not an elopement, just a rather intimate, yet grand wedding in Las Vegas, Nevada.
Update! After writing this blog, we finalized our wedding ceremony & reception site the week after writing this. We will be holding the ceremony at the Bellagio Resort & our reception at Sunset Gardens.
Now, if I’ve learned anything about wedding planning, it’s that it’s a masculine energy thing and it is EXTREMELY addicting.
Although I wanted an all-inclusive style wedding, I have found the venue searching, and planner searching game to be extensive. Because I want a wedding that is intimate but grand, non-traditional but memorable for our guests, AND destination, I had found myself planning 7 different wedding scenarios. Let’s just say at this point, my fiance is just going to have to be surprised at which wedding option I choose to go with.
Since I consider myself a DIY bride, type A bride, and whatever else means that I like to do deep research just so I make the perfect selection, I figured I’m the person to tell you what I’ve found to keep me slightly sane, and what I’ve found to not serve me.
What’s been helpful:
Flutter Social – thank goodness for this service. I will rave about this company because not only do they have a 24/7 FB support group for brides going through the planning woes, but also they have a whole gallery of resources to help you keep your wedding planning organized. I’m talking spreadsheets galore, email templates to send out to vendors, & so much more. Their Getting Started packet has helped my fiance & I narrow down the vision of our wedding so that any choices we make we know that it’s because we are staying aligned with the vision.
Miss to Mrs. Box Subscription- Thank goodness for this little slice of joy that has started arriving at my front doorstep because it reminds me there’s the little girl inside me that is ecstatic to plan her dream wedding. This company also has a special with FlutterSocial (how I discovered them) and Miss to Mrs also gives you access to a Name Changing Kit once you’re all done & married. Check out their site here for your first box FREE.
BRIDES blog- I’ve had a few questions pop up that I would ask Google, and BRIDES blog always came through with the best answers & resources to questions I didn’t know I had.
Lastly, based on what my fiance & I found to be important to us via the FlutterSocial sheet, I was able to start painting a picture in my head of how I wanted the day to flow and what the vibe of the wedding was. I basically set the scene for how the wedding would look and flow so that any options that came up, I could see if it fit that vision or not, so it’d be easy to make a decision.
Tips on how not to plan your wedding:
Staying up late googling every question that popped into my had and going down that rabbit hole of articles on if it’s okay to elope or not. Seriously, just write down in your little bridey notebook the questions that pop into your head in the late hours of the night and just get some rest. Chances are you actually don’t even care in what order your bridesmaids walk down the aisle. Again, remember the things that matter most to you, and let the small details fall into place, or pass it along to your planner or MOH. I found running across my crazy ideas with my MOH was actually a great idea to have her confirm that what I was planning was fitting for me or not.
Researching more venue options after you already know what you really want to do. This was an overwhlemingly bad idea. For me this was because I want to make things really easy on my guests, but really it’s an underlying people-pleasing trait I have and that ultimately people travel all over for weddings every weekend, and if they really can’t make it, we can broadcast the wedding to them. Problem solved!
After about 2 solid weeks of wedding planning, I could see how if I was having to find a different vendor for each element of my wedding, I would never even notice my fiance was in the room. So my final piece of advice? Do remember your partner exists and to show them love! Because this is forever after all.
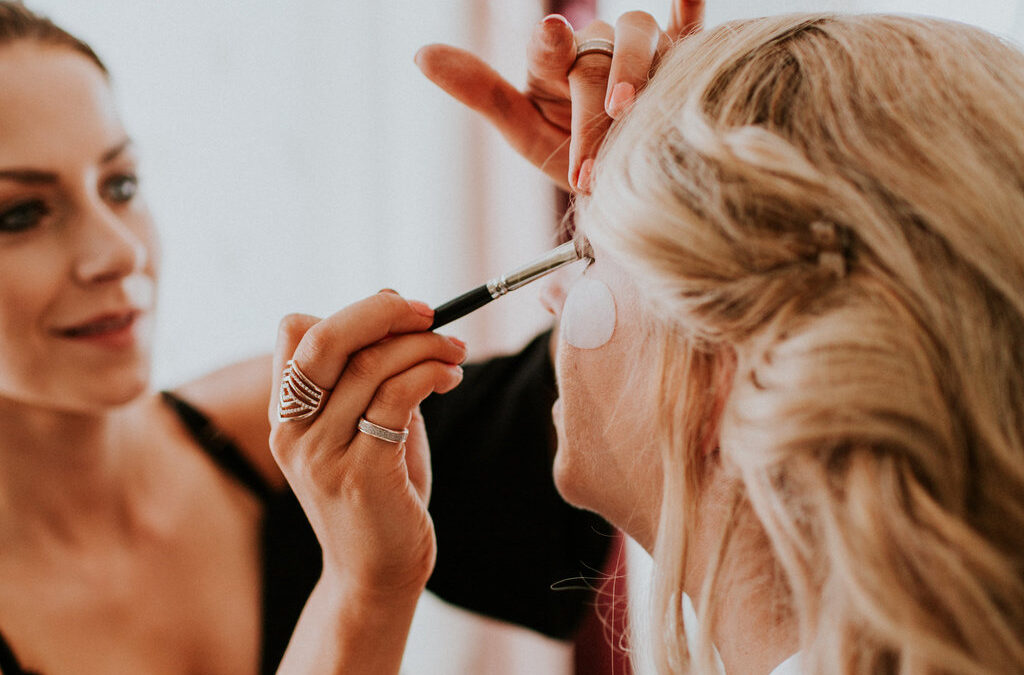
I am writing this post for the bride who had to cancel or postpone her grand wedding because of the global pandemic and is either having an elopement style ceremony or simply just having a nice night with her new hubby after signing a marriage certificate. My heart aches for you and so I want to gift you a bridal makeup tutorial you can do at home. I have seen some brides still have professional photographers come and I know how pricey those photos are and want you to feel like you still look your best even without a professional makeup artist, physically, by your side.
More than just a makeup tutorial…
Now, this isn’t an ordinary makeup tutorial. This is basically a walkthrough for you on how to make your makeup application for your intimate ceremony a real treat! I’m bringing the Chelsea Rose Beauty into your home, virtually! Make sure to follow me on IG and catch the actual video on IGTV. For those of you that are not on Instagram you can actually download the video here. Okay, so you’ll need a few key ingredients to get yourself bridal ready:
Put on your bridal robe
Get in front of some natural lighting
Bring over your makeup stash
And pour yourself a glass of champagne!
The products I used that will be helpful to you
I’m not usually one for listing out products only because I think the skill is more important. However, for this video I think it’s necessary so you can get a good visual since we aren’t in person. So the products I am using for this are:
Sonia Roselli Beauty Water Elixir and Water Blam – hydrate that skin girl! The elixir is my all time favorite, especially paired with the water balm, which has a built in makeup primer.
MAC Paint Pot in Bare Study – this is acting as my eyeshadow primer (you don’t want to crease!) and also is beautiful as a pop of champagne shimmer if you want to keep it real simple
IT Cosmetics CC+ Cream – not only do I love this on a day-to-day but it also can provide you enough coverage for camera AND has sunscreen in it!
IT Cosmetics Bye Bye Under Eye – I prefer the one without the shimmer! Color Medium is my favorite because of the pink undertone to camouflage bluish or brown tone under eyes.
Senna Cosmetics Cream & Powder Blush & Eyeshadows – One of my biggest tips for makeup application is to apply a cream blush and then a powder on top. It may seem a bit much but blush is always the first thing to blend too much into the skin.
L’oreal Paris Voluminous Lash Primer – This stuff is a must-have! It help boost your lashes enough to forgo false lashes and help the mascara stay on longer. It is white looking so definitely finish with your favorite mascara (probably waterproof!)
Your favorite lipstick! I actually chose to forgo lipstick and opted for Tarte Jelly Lip Glaze in Strawberry because it’s not only super moisturizing, it’s also a very pretty shade of pink. I just lined my lips with a matching shade of lip liner to make sure my baby lips would show up just enough for camera.
Application
Skin prep is so important to a good makeup application. Proper skin prep can help your application last longer and improve the texture! For more on skincare, check out my video with Christiana of Brave Beauty Spa here. Also, I LOVE pampering masks, so I did 24K Gold under eye masks to help me from creasing by adding moisture.
I prefer to start with the eye makeup before doing foundation so I go in within the eyeshadow primer all over the lid and buff it out. I always start with a highlighting shadow on the brow bone and inner corner of the eye. From there I take a medium shade of whichever tones you are working with (I am using warm shades). BLEND ‘TIL YOU’RE BORED! Next, I added in a super shimmery wet pigment from MAC and blended it in a tiny bit just enough to make it look seamless. Lastly, I absolutely love to add a light-medium shade with a small tapered brush to go underneath my bottom lash. I also like to and a little bit of the medium shade on the bottom outer corner for more depth.
From here I add a black eyeliner on my top waterline and bottom outer corner, on the lash line, not waterline…preference for this look. Then I’ll curl my eyelashes and apply my gel liner on top with a little wing. Next up, add that Loreal Lash primer (the holy grail) with your favorite mascara, top and bottom.
Now we are ready for under eye concealer. I love to have a peachy salmon tint to my concealer because it helps tone down the bluish tint in my dark circles. (I personally prefer one coat under foundation, and one on top, just make sure it is not the very last thing you put on).
Foundation time! I personally love to use my hands for my face foundation because the warmth helps it melt into the skin really nicely but I do like to bring it down to the neck with a flat face blending brush. Next up, add in that cream blush. You can even do this underneath the foundation if you want it super soft. Still top with a powder blush for longevity.
Bronzer! Feel free to skip this step if this is not your thing. For those that love it, go ham. Just make sure it is blended nicely. If you over do it, you can blend it with a finishing powder. I also love to apply bronzer on my big forehead so it appears smaller! Same with the nose! Just make sure you don’t make your nose look red.
My favorite step, eyebrows. I love my The Brow Gal pencil in Taupe. Fill in as desired. A little filling of the brows makes a world of a difference for camera!
Finishing steps: I used the Tarte Lip Glaze on my lips with Makeup Forever lip pencil 1C and added a little highlight on my cheekbones and collarbone! Now if you like your complexion matte, use a setting powder before you use a finishing spray, otherwise, just skip to the spray.
You did it! I hope you really enjoyed this and feel so beautiful and ready for an amazing night (or day) with your fiance!
Please share this with your girlfriends that just want to feel like a princess right now and are stressed from the affects of their wedding being postponed!