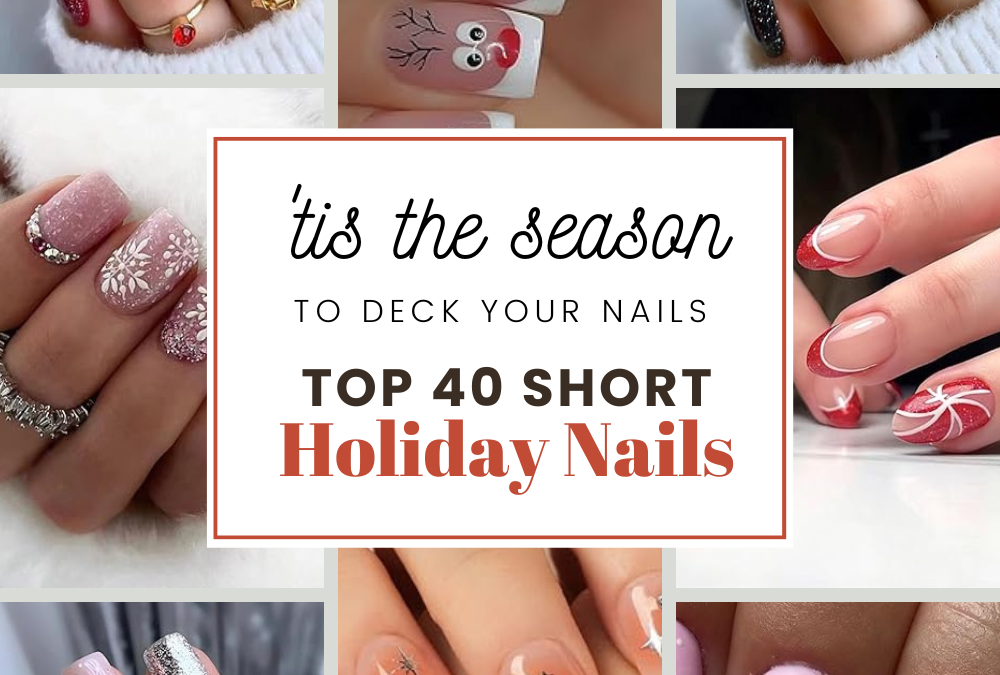
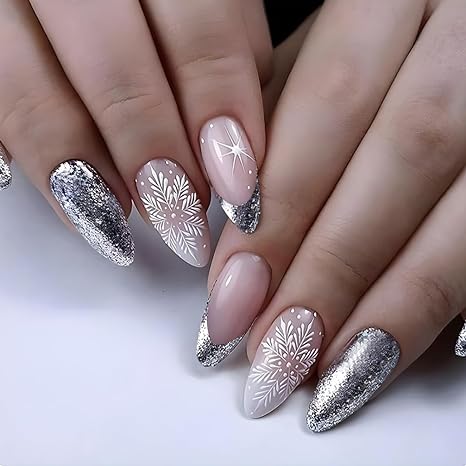
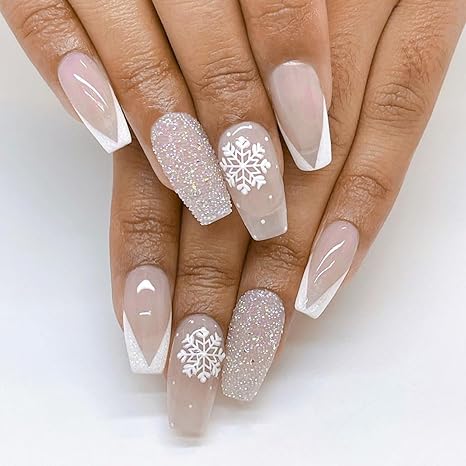
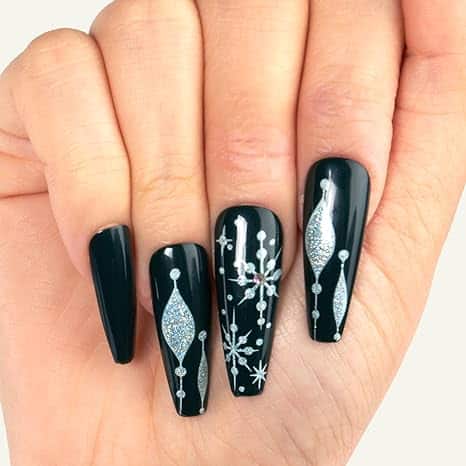
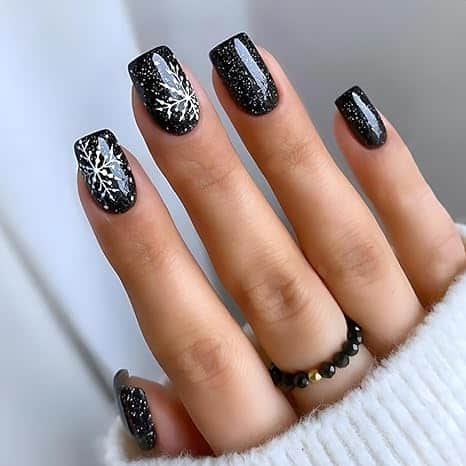
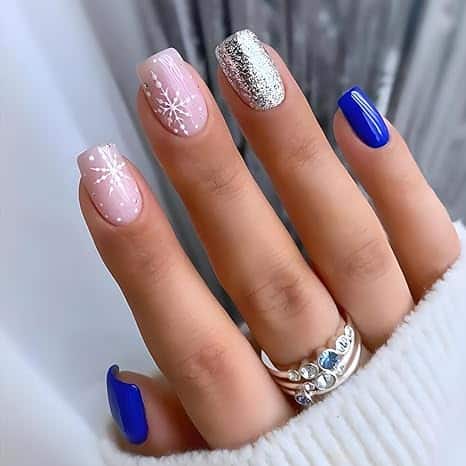
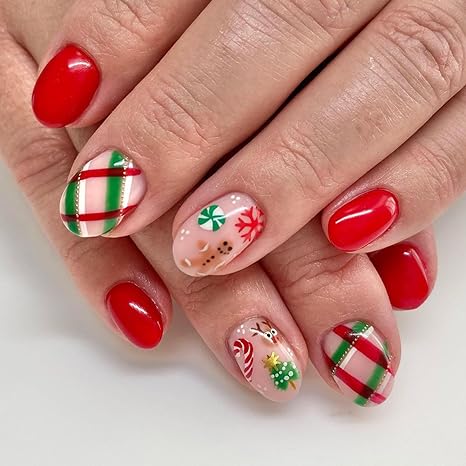
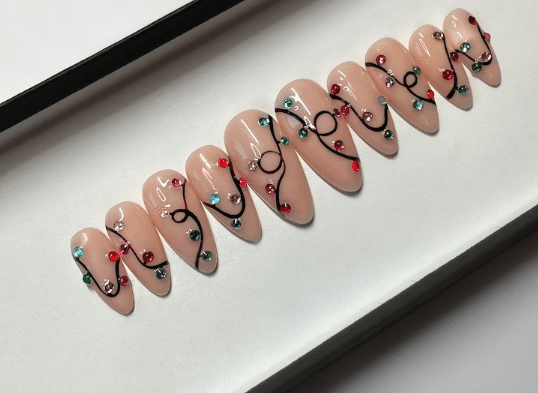
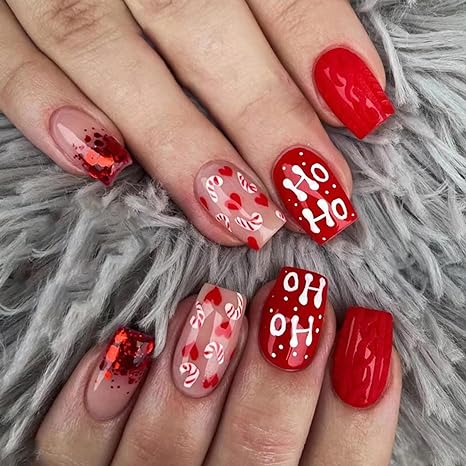
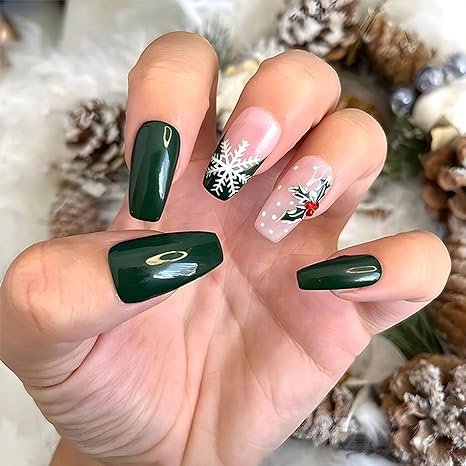
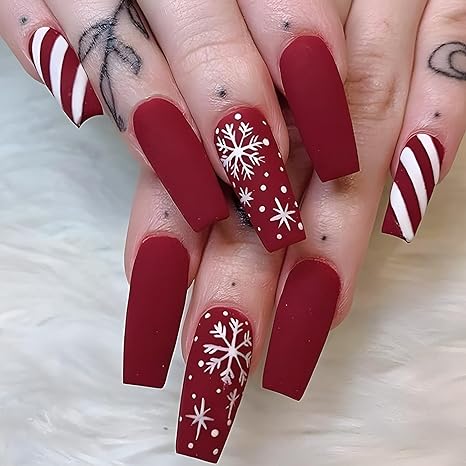
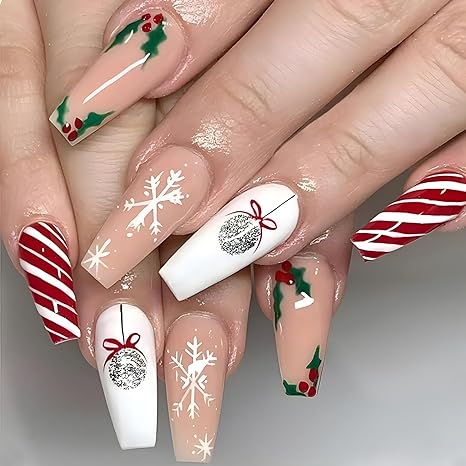
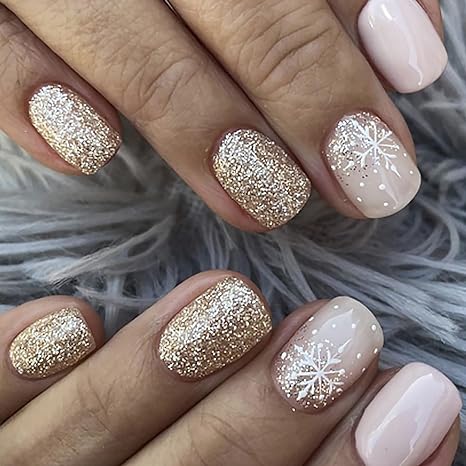
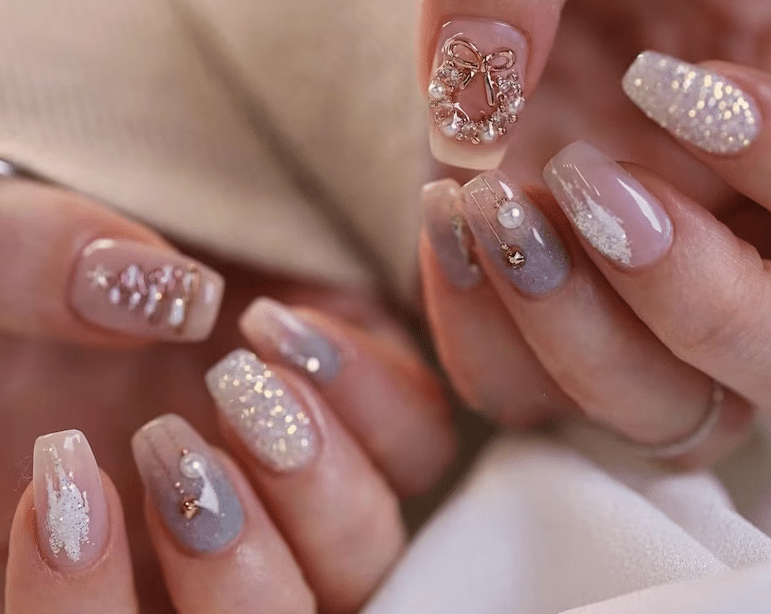
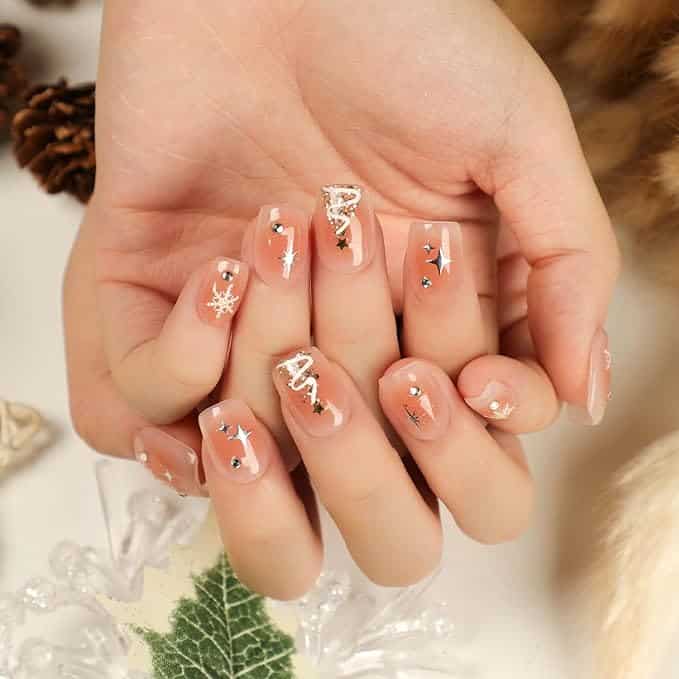
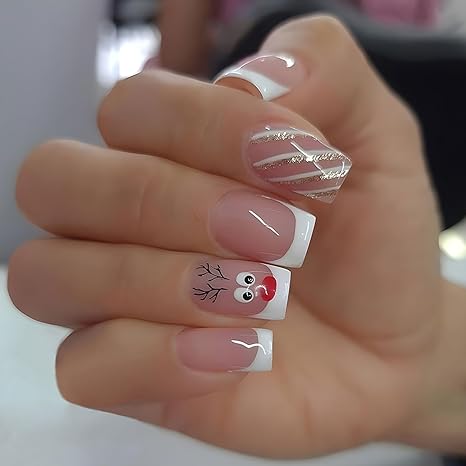
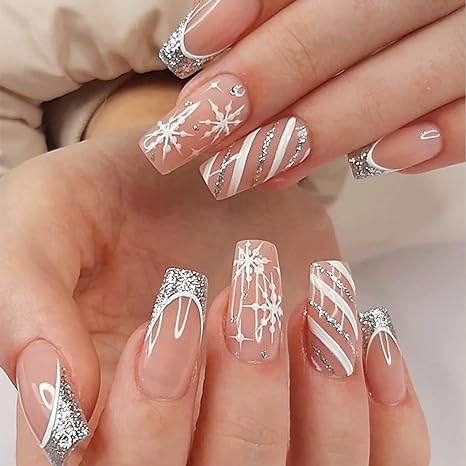
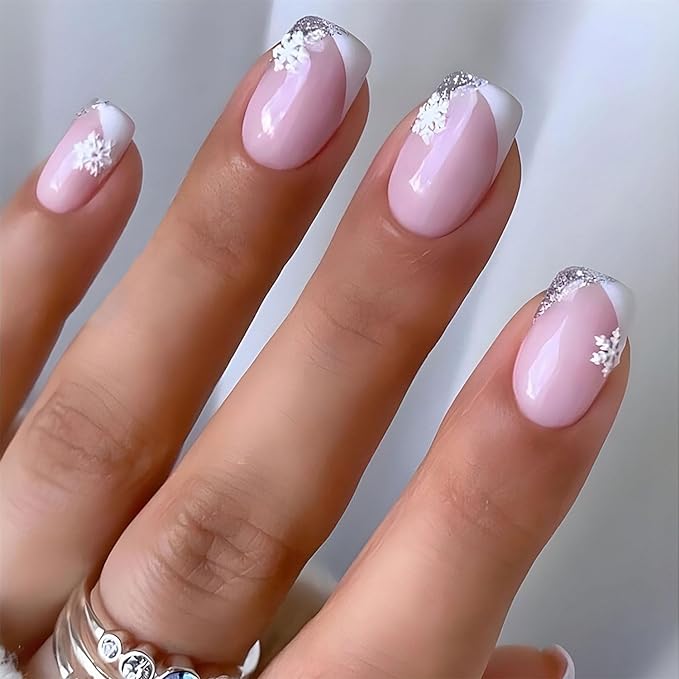
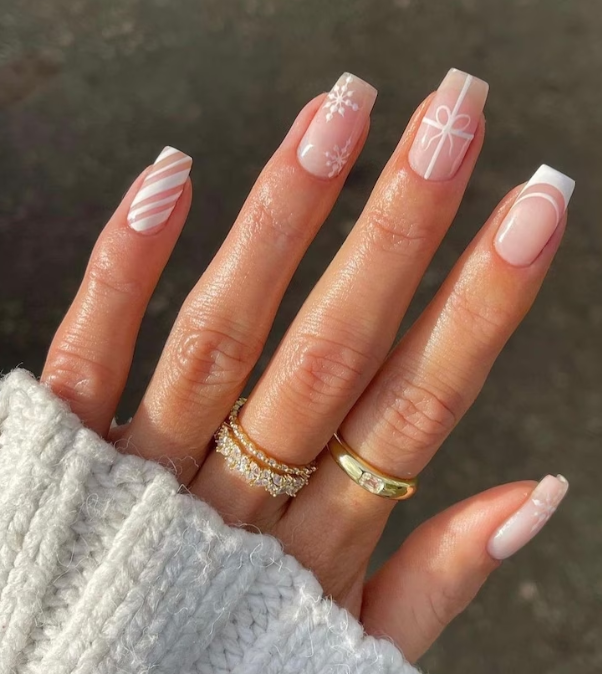
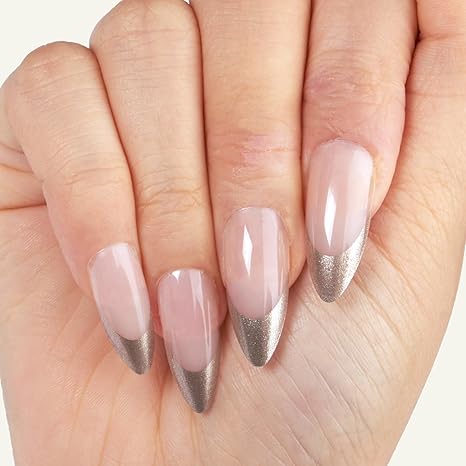
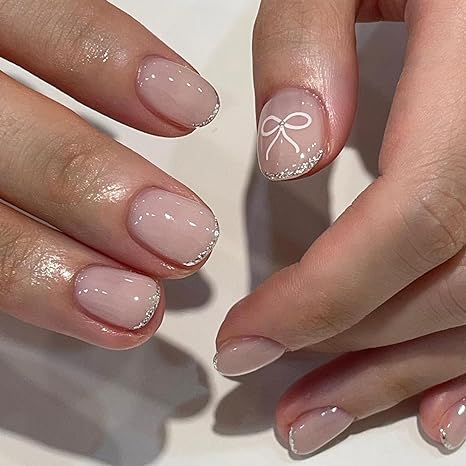
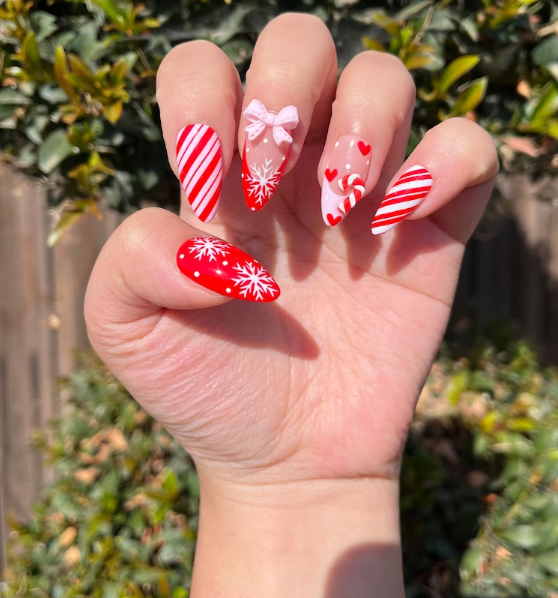
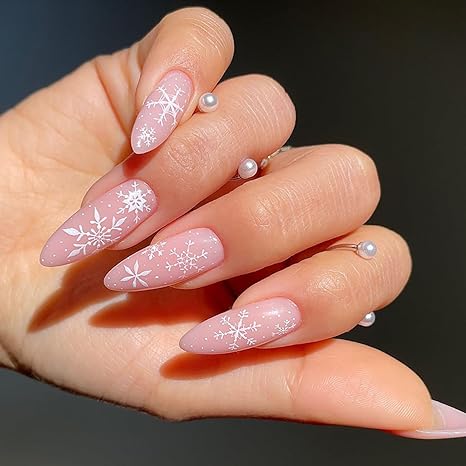
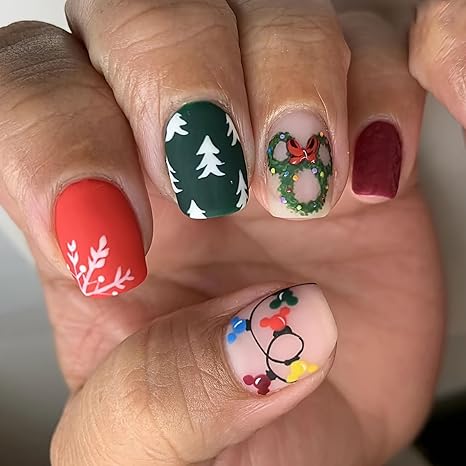
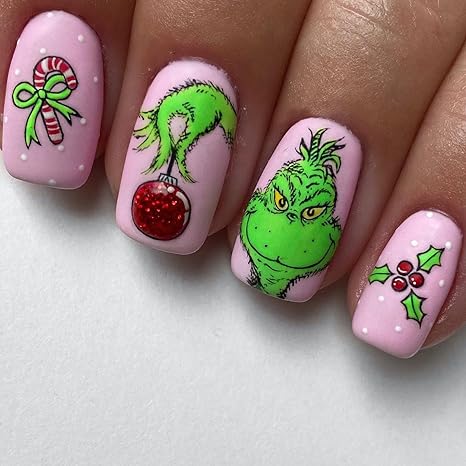
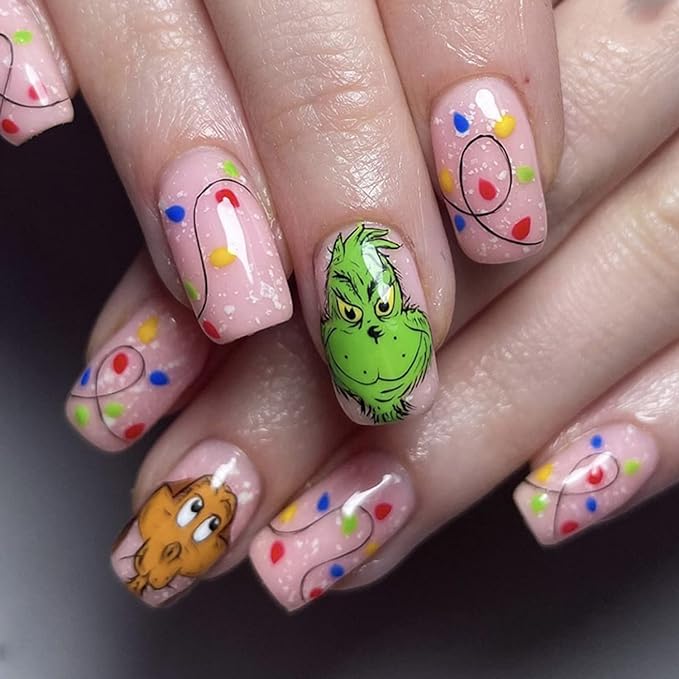
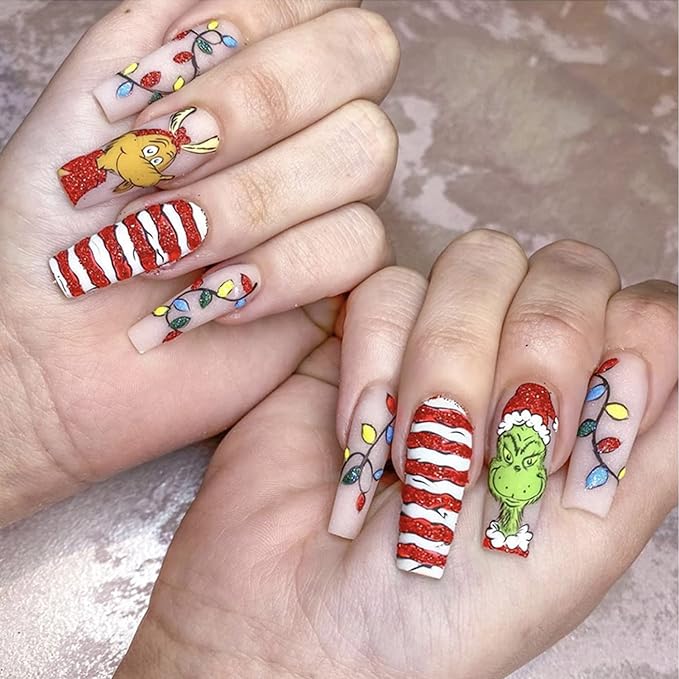
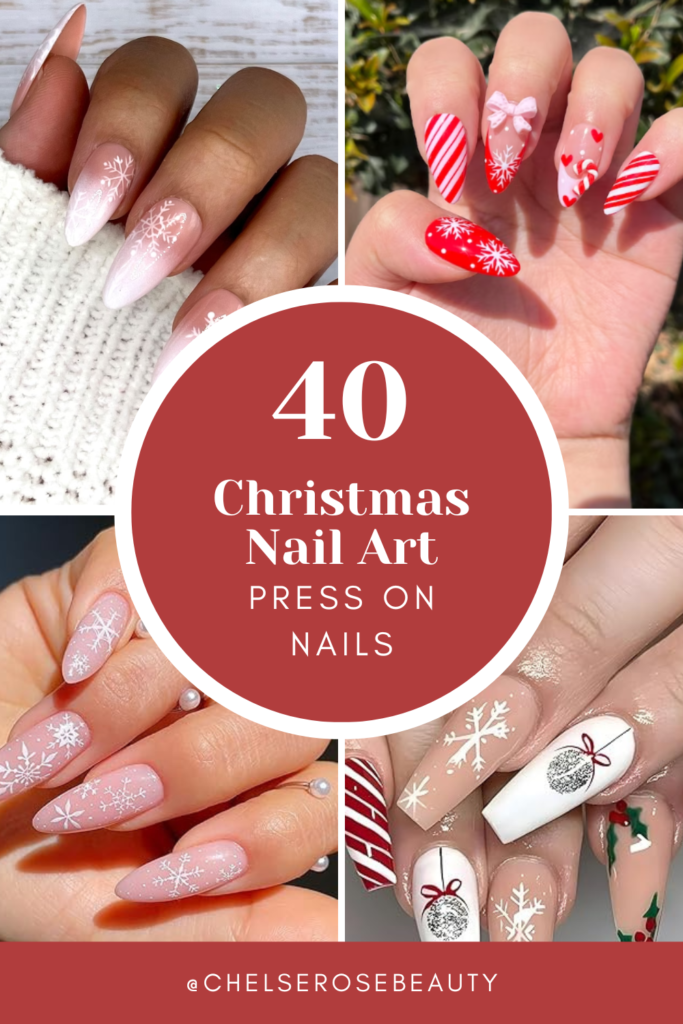
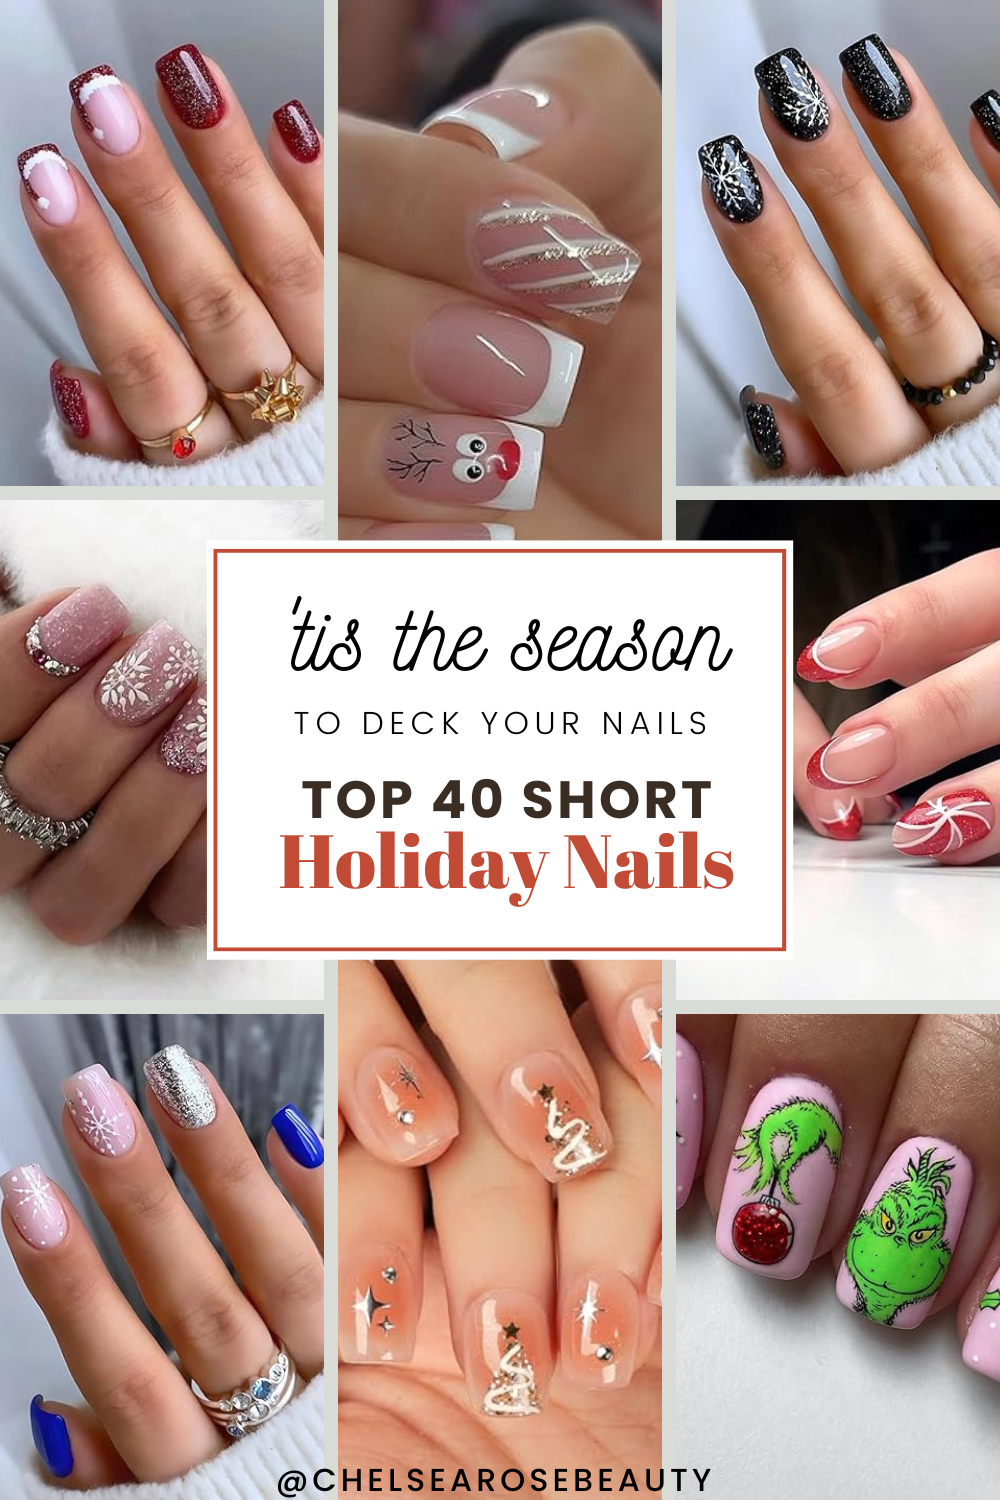
It’s time for Christmas nails! Whether you want to go with frosty winter nails, simple christmas nails, or festive holiday nails, I have the top 40 christmas nails designed for you to rock this December.
If you’re like me and dislike having to spend hours in the nail salon, shop the links to my pressons through my Amazon affiliate links and Etsy links (great for custom gift shopping ideas too!)
I absolutely LOVE the fast and easy method of press on nails so much so because I can do it myself in the comfort of my home and I have gotten so good at applying them, they can last up to 3 weeks!
Comment and let me know if you want a blog post on how I get my press on nails to last up to 3 weeks at a time!
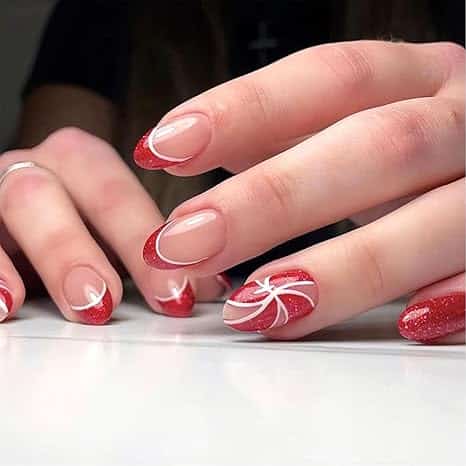
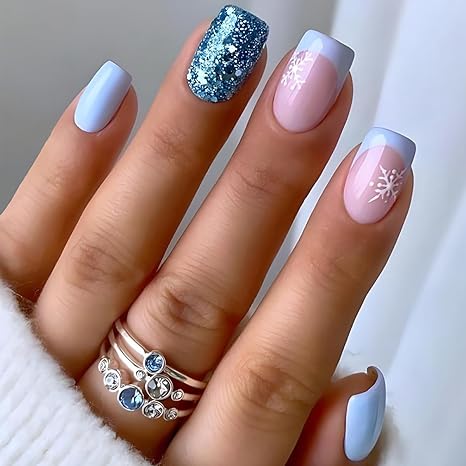
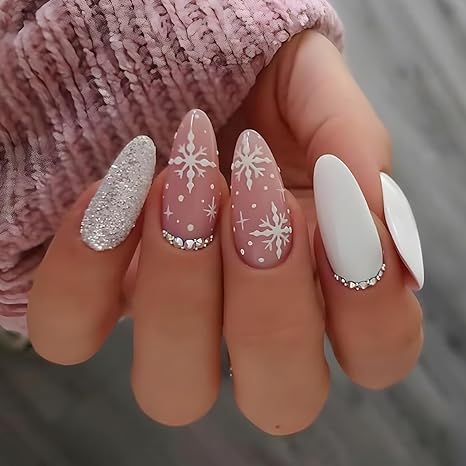
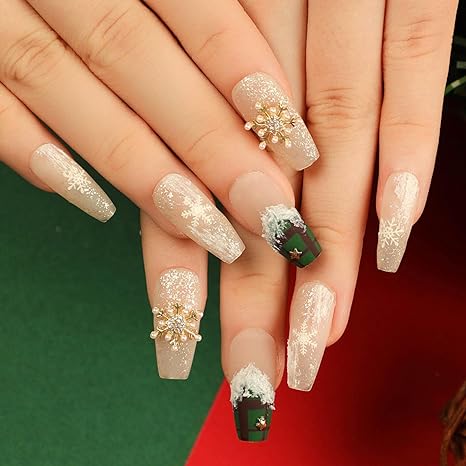
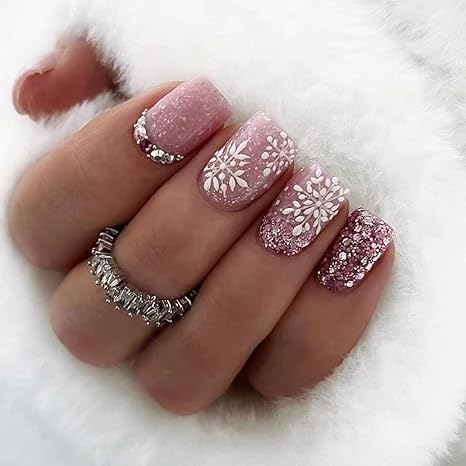
Now, let’s start off with sparkly winter nails:
Psst! I have included links to shop the press ons or you can just save this post to reference at your nail salon later.
I hope you started off your morning feeling empowered for the week ahead. Part of my new morning routine is incorporating a practice called Morning Pages which is dedicating 3 full pages of a journal to a complete brain dump. This helps to unblock your creativity and relieves daily anxieties.
Anyway, today I found myself journaling about what I was proud of myself for incorporating into my life and sticking to, so I thought I’d share in case you need some support in these areas:
Staying Hydrated – I stepped up my water game with this hydration powder and have had it every day for the past 2 months. I love that it tastes delicious without sugar (organic stevia only) and no artificial dyes. Adding these minerals into your diet can be so beneficial if you struggle with headaches, muscle soreness, and never feeling hydrated enough no matter how much water you drink.
Mastering My Blowout – Just because I can do other people’s hair, doesn’t mean I have mine all figured out…that is until I started using this anti-humidity treatment after every wash and since then I have been actually enjoying washing my hair for once just so I can blow dry it and feel cute & confident!
Creating a Sleep Haven – I think I just need to do a whole separate blog post on this but my pre-sleep routine is so divine. I’ll spray a room spray and then this wonderful pillow mist and climb into bed with a cup of magnesium bedtime tea and I slip into the most relaxed state and wake up actually feeling refreshed and excited to get everything done for the next day.
Now, these habits are not only great for day-to-day self-care but especially ideal for the week of your wedding. The week of the wedding is a constant marathon and self-care can easily be overlooked as beauty routine chores. The difference is your intention and mindfulness with each practice.
For more ways to incorporate a mindful self-care practice check out this blog post:
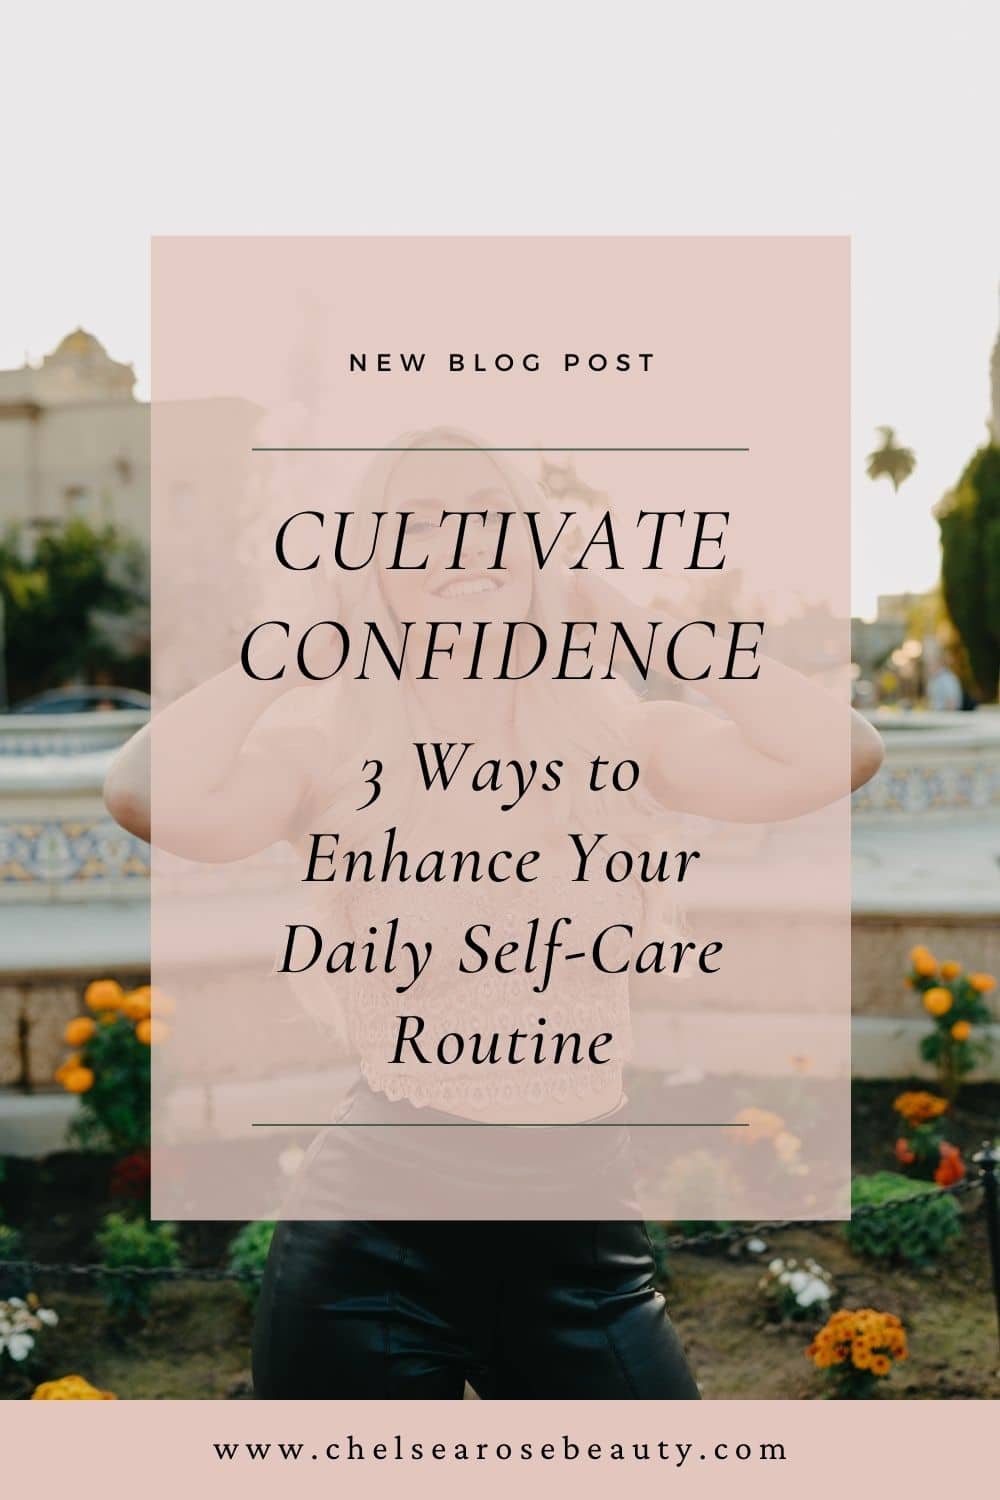
My ultimate mission & passion is beauty beyond the vanity. We look beautiful not because we try every new facial out there, and have the best bridal artist, but because we’ve learned to cultivate self-confidence and it radiates on the outside. I want to help brides find their confidence & bliss through learning real self-care practices.
We are going to get right into the products and how-to’s of creating a snatched undereye.
But what does that even mean? Well, do you have dark under-eye circles you’d like to conceal without having to worry about creasing or darkness? Then let me teach you!
As a makeup artist that has had dark under eye circles since the fifth grade, I’ve tried many under eye concealers and methods and alas I have found a creaseless method that also makes make look bright-eyed and bushy-tailed.
This look will have you looking awake for early zoom meetings or snatched for your bridal makeup.
Here’s how:
Skincare is always a mandatory step in any makeup application so invest in it! I enjoy a luxurious skincare application with these energy drink eye masks. Do you need these every application? Absolutely not but you can use them 3-4 times a week for major brightening effects.
Eye cream. There are many I love: Monat (comes with a lovely cooling eye roller), and this one from Clinique.
Concealer Number 1: Yes, I need 2 concealers. The first one I use is for color correcting. I will switch out occasionally what I use for this but lately, I love Pat McGrath Labs concealer in shade L6. I’ll apply this in the inner corner and blend out in the inner corner, undereye and even on top of the lid to even out skin tone.
Concealer 2: Once the first ones dries down and I’ve applied any eyeshadow, I’ll go in with a concealer that brightens. My current favorite is Nars Creamy Radiant Concealer in shade Light 2 Vanilla in the inner corner & outer corner for that lifted shape. Sometimes I need to go in with a second coating of that so if that’s the case for you just make sure everything has a moment to dry down first.
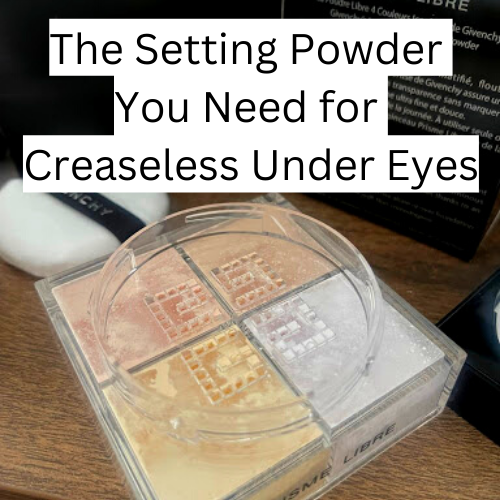
Setting Powder: This magical fairy dust gives me creaseless undereyes, which has always been a battle I forfeit to because I do have Crow’s Feet. However, if you’ve read my blog post on this powder you know the benefits of why I love it. I’ll apply this powder lightly with the powder puff it comes with all across the undereyes.
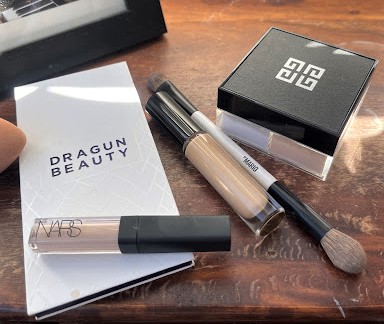
Last step is a brightening powder from Dragun Beauty. I swirl it around on my Makeup by Mario brush and stiffle it onto my inner eye area wherever I know my darkness is. Then I do a second application using a swirling technique.
Voila! That’s it! I do enjoy setting my makeup with the new Fix Plus Stay Over setting spray.
The Setting Powder You Need for Creaseless Under Eyes.
I’m sure you’ve heard about it over and over…The Givenchy Prisme Libre Loose Powder.
But is it worth the hype? Do you really need it? I will tell you my experience as someone who has been self-conscious of her under eyes since 5th grade
I finally got my hands on it after major back & forth whether it would be worth it, and then when I had previously ordered it from Sephora via local delivery, it was stolen before I could even try it. So I figured I didn’t need it and Sephora was kind enough to give me my money back.
But months later I still kept hearing about it, and of course, I want the best products for my clients arsenal so I decided to take the plunge for the $58 powder.
It’s not that the price point is so high for a cosmetic item.
BUT for a typical setting powder, yes absolutely it’s high.
However, whatever magic bean stock was chopped down and ground into this extremely finely milled powder is worth every cent.
Why I love it:
-it actually helped my Crow’s Feet from creasing. I tried it with several concealers (because I’m always looking for the next best concealer) and I found one of the best pairings to be with the Nars Creamy Radiant Concealer.
-Although no matter which concealer I used, I had significantly less creasing than if I went without.
I was surprised to find that shopping for THE wedding dress, was harder than I thought. I thought it would be a super fast, easy decision for me, but it took me 3 shops and at least 20 dresses to try on. I was both underwhelmed and overwhelmed, resulting in feeling like I was stonewalling my own emotions. It wasn’t that I didn’t feel beautiful, it was just missing a huge wow factor in combination with feeling like myself but better. But finally, I felt what I was looking for. I was moved with a magical feeling of “this is the one” and didn’t look back.
So here is my experience at 3 different bridal boutiques in San Diego, CA. I’ll also share what I found helpful to bring and how to prepare.
First up was LUV Bridal in Linda Vista, San Diego.
I had the pleasure of having Sidney as my stylist. She was very sweet and pulled some beautiful dresses. Although I knew I was dead set on an Aline or a Ball Gown style, I really appreciated Sidney taking the time to walk me through the dress racks and allow me to pick which details I like about the dresses. I think this is why every dress she pulled was stunning and I loved them all. But at last, we had another bridal boutique to go to right after, so I knew I wasn’t prepared to say yes to the dress.
Quick note: one con about this stop, is there isn’t any privacy when showing your guests your dress and seeing it in the big mirror.
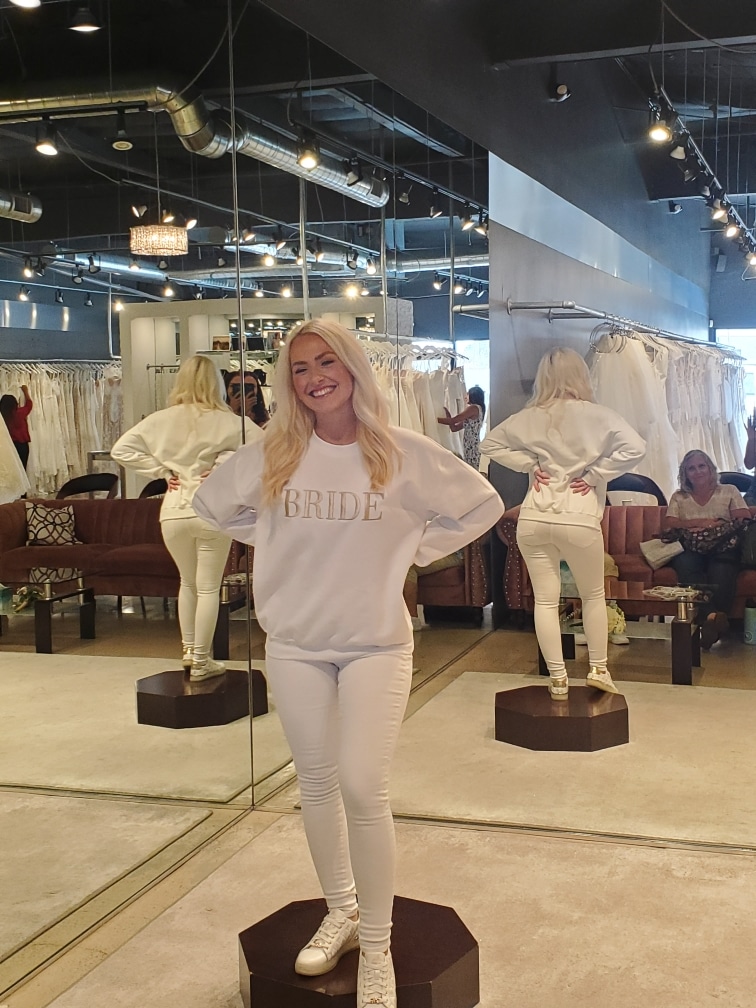
I had the pleasure of having Val as my stylist. She was so great at getting me to step outside my comfort zone and reminded me to embody how I was feeling in each dress. This helped me make decisions quicker on whether or not I liked a dress or if it didn’t stand up to a previous contender. She had so much patience and even allowed my bridesmaids to pick out a couple of dresses they wanted to see me in. Val always had the right amount of input to give and I really appreciated her opinion.
I ended up really loving a dress at Here Come the Bride, and even got to strut around the store and “Say Yes”, BUT I felt that I needed to sleep on it and come to a decision then.
I got home and looked at myself in all of the dresses that I adored, and was excited to make a choice in the morning.
That night I slept terribly. My mind wouldn’t shut off and I actually didn’t come to a clear decision when I woke up. I looked back at the photos again and was expecting to have a clear choice and as much as I was trying to talk myself into a dress I knew I looked and felt beautiful in, something was off and I felt like I needed to go try out some options that I didn’t get a chance to explore.
Quick note: Two adorable loving cats live here! If you are allergic or don’t like cats maybe skip this one or mention that to your stylist.
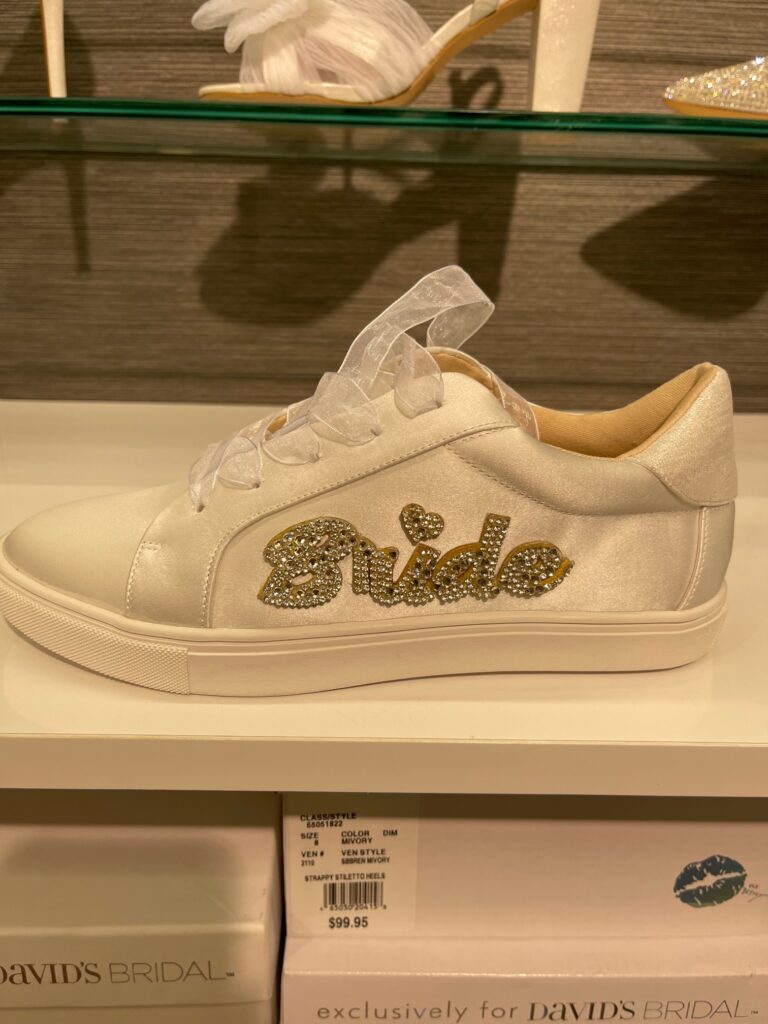
My unexpectedly final stop that afternoon was David’s Bridal in Mission Valley, San Diego.
Katherine was my stylist, and she was a saint. She spent her afternoon basically helping me find the one, but I knew halfway in, that all the other options were out and we were on to something. Ultimately, the one that Katherine picked out was The One. She even made me realize that a veil was the way to go, when before I was dead set on not having one.
Quick note: This place is huge and there are shoes, accessories, and even gifts and tons of other wardrobe options!
Here, are some things I thought were very helpful to prepare in advance, and to bring to the appointment:
-style your hair in curls and bring a hair clip. I know I will be wearing my hair up but most people usually style their hair around the dress, so do bring a clip to see your hair half up and up to see the vision start to come together.
-do wear nude or white undergarments. If you already have your shapewear, wear that.
-bring a heel height you plan on wearing. At the first 2 shops I didn’t wear heels but at David’s bridal Katherine recommended it, especially because I was walking around there more.
-if you plan to have a spray tan, get one two days before your appointment.
Some helpful questions to ask at the appointment:
-ask for a petticoat if you are trying on an A-line or Ballgown dress and want the look of more volume. Katherine did that for me at David’s Bridal, and it really helped me envision myself on the day of.
-ask to see if they have another fabric color to temporarily line the dress so you can see how it looks. Val did that for me at Here Comes the Bride and it really helped me envision the color I would actually choose for the Day Of.
-if you are trying on strapless or spaghetti strap dresses, ask to try on some sleeve options. This can dramatically change the dress style, and could be the one that way!
To close this blog post out, here is an ode to all the other dresses that were so beautiful but were not chosen:
To all the wedding dresses I loved, I’m sorry. My choice wasn’t easy and I know I strung some of you along. What we had was so great, but ultimately one stole my heart. I loved you all in different ways, and some of you even showed me the infinite possibilities of a new wedding theme but I had another fantasy call.
Originally, I was going to write about cute date night ideas and presents for your man (or wo-man), and I decided it would be way more fun to tell you about ways to treat yourself this Valentine’s Day!
Okay, first up let me give you the tea on deals that are happening for Valentine’s Day 2020.
Deal Number 1: Personally, my favorite way to treat myself is with skincare or anything spa related. Have you ever heard of Summer Fridays?! They have an amazing skincare line of creams and masks that make your skin glow and brings you the confidence to rock a bare face! This V-Day they are offering 50% OFF & FREE SHIPPING my favorite R + R Mask that exfoliates, hydrates, and smells like a bundle of fresh roses. Your partner is going to sniffing your face all night and your girlfriends are going to be asking you why you’re glowing! To get the deal, enter code: LOVERR
Deal Number 2: Another way I love to treat myself is through healthy foods!! I love a good, juicy hamburger now and again, but I feel at my best when I treat my body to a delicious smoothie or colorful salad. One of my favorite & trusted brands,Tone It Up, is offering 14% OFF the entire site of protein powders and supplements!! The TIU girls are so motivating and I even follow their workouts & meal plan throughout most of the year because of all their delicious & unique meals. My favorites to shop are: the chocolate or vanilla (I’m simple!) protein powders and the pre-workout (it seriously is amazing for focus and no jitters!). To get the deal, enter code: LOVEYA
Deal Number 3: Breathe in. Breathe out…yes YOGA. Girl, you deserve the gift of yoga. Today only, if you go to your local YogaSix studio, you’ll receive a regular class for only $14…yesssss take the time to decompress after a long week of work and do your body some good! To see locations near you & call just to make sure that studio will honor the Instagram deal.
Bonus Deal: This one isn’t a deal but it’s for those that want to give the love. The non-profit Stand Up To Cancer is asking for help raise awareness of their mission to help cancer patients receive therapy more quickly. To do so you take a photo of you and your honey sharing a kiss and post it to social media with the hashtag #KissCancerGoodbye and tag @SU2C
I hope you enjoy these special Valentines offers and pamper yourself! We all could love ourselves a little harder and enjoy a treat now and again!
I do not benefit from you using these links or deals, I just wanted to share my favorites!!
About the author–My name is Chelsea and I’ve served as a makeup artist for nearly a decade. I’ve transformed more faces than I can think of and curled way more heads of hair than I have ever curled my own. If hair & makeup wasn’t a gift bestowed upon me, well by now it is a superpower. I can’t unlearn it and I don’t want to! I love having the skillset to beautify brides and bridesmaids for weddings in San Diego (my main niche) and the special opportunity my brideys give me when I am apart of their special occasion!! You can learn more about me in the About section.