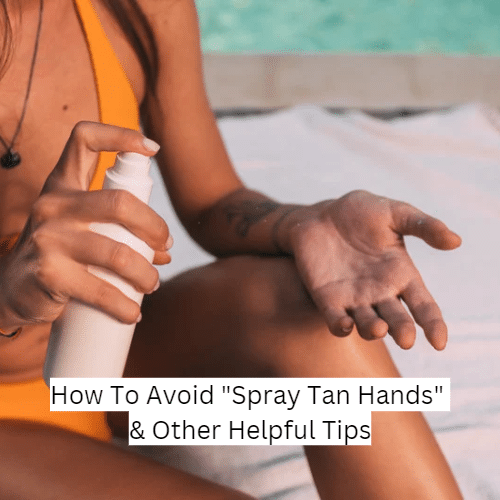
How To Avoid “Spray Tan Hands” & Other Helpful Tips
About to get a spray tan for New Year’s? If you are, then you’re like me and need to exfoliate and shave tonight (more on when to get your tan later) Worried about “orange hands”?
Well, fear not, I’ve been using self-tanners since middle school and worked as a spray tan technician for 2 years so I’m here to share with you my key tip to avoid ever getting orangey, i-can-tell your-tan-is-fake hands when you self-tan or spray tan.
Now there are two parts to this, here we go:
If you are self-tanning, always slather your hands & feet in plain lotion before applying self-tan. The spray tan version of lotion is called Barrier Cream, they should have it in your tanning salon, but it doesn’t hurt to bring your own lotion.
Do tan your hands. Otherwise, they will look significantly lighter than the rest of your body. The other tell-tale sign your tan is fake lol.
BUT the trick is you need to CAREFULLY clean up your hands after.
Here’s how: For Self-tan, you need to wash (with cold water) just the palms of your hands with soap and be careful not to go too far past the first wrist line. Carefully pat dry your hands and re-apply plain lotion.
For spray tan, you take a baby wipe and rub the wipe between your palms and then dab around the edges of the wrist and tops of hands. Then when you get home you can wash your hands like above.
Always reapply the lotion on your hands after so it’s an even natural tan.
Now, avoid water for 8 hrs (unless your tan is a rapid one that has you rinse after 2-3 hrs).
How to prep for your tan:
24 hrs before your tan application do the following
I personally like to take a bath so my skin can soften & get hydrated and ensures any dry patches won’t ruin my tan
Exfoliate. You need to use a body scrub or an exfoliating mitt to remove dead skin cells and/or old tan.
You need to closely shave your entire body (or not, it’s your choice). But don’t think you can fully shave after your tan, you’ll risk streaking it.
Apply lotion all over the body and wear loose clothing to bed (and the next day for that matter).
The Day Of Your Tan you need to do the following
Take a rinse, and wash everything real good but no exfoliating or shaving.
Do NOT apply deodorant or lotion and no sweating. If you do have to take a shower close to your tan appointment make sure there’s at least 1 hr of dry time.
Wear dark, loose clothing that makes you look homeless or bohemian (think sweats & over-sized shirt or a long flowy dress).
Aftercare for your tan:
Rinse your tan with cold to lukewarm, low-moderate pressure water until water runs clear (get everywhere!)
No soap (except armpits and bottoms of feet)
Pat dry gently with towel
No lotion today except hands
Avoid sweating, perfume, and any water activities
24 hrs after your tan application you can take a real shower
Avoid exfoliating, shaving, and any products containing alcohol, coconut oil, mineral oil, and any aerosol sunscreens.
I hope this helps you avoid any tan mishaps and has you looking perfect for New Year’s & any special events!!
If you’re a bride-to-be or have a super special event in your life that you are gearing up for, get on my mailing list today so you can be informed when I release my Beauty & Bliss Guides!
We are going to get right into the products and how-to’s of creating a snatched undereye.
But what does that even mean? Well, do you have dark under-eye circles you’d like to conceal without having to worry about creasing or darkness? Then let me teach you!
As a makeup artist that has had dark under eye circles since the fifth grade, I’ve tried many under eye concealers and methods and alas I have found a creaseless method that also makes make look bright-eyed and bushy-tailed.
This look will have you looking awake for early zoom meetings or snatched for your bridal makeup.
Here’s how:
Skincare is always a mandatory step in any makeup application so invest in it! I enjoy a luxurious skincare application with these energy drink eye masks. Do you need these every application? Absolutely not but you can use them 3-4 times a week for major brightening effects.
Eye cream. There are many I love: Monat (comes with a lovely cooling eye roller), and this one from Clinique.
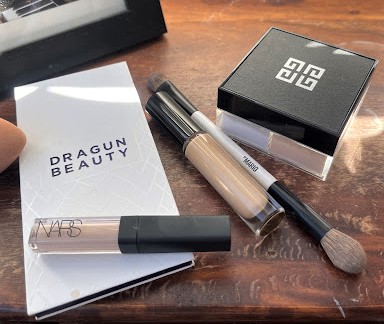
Concealer Number 1: Yes, I need 2 concealers. The first one I use is for color correcting. I will switch out occasionally what I use for this but lately, I love Pat McGrath Labs concealer in shade L6. I’ll apply this in the inner corner and blend out in the inner corner, undereye and even on top of the lid to even out skin tone.
Concealer 2: Once the first ones dries down and I’ve applied any eyeshadow, I’ll go in with a concealer that brightens. My current favorite is Nars Creamy Radiant Concealer in shade Light 2 Vanilla in the inner corner & outer corner for that lifted shape. Sometimes I need to go in with a second coating of that so if that’s the case for you just make sure everything has a moment to dry down first.
Setting Powder: This magical fairy dust gives me creaseless undereyes, which has always been a battle I forfeit to because I do have Crow’s Feet. However, if you’ve read my blog post on this powder you know the benefits of why I love it. I’ll apply this powder lightly with the powder puff it comes with all across the undereyes.
Last step is a brightening powder from Dragun Beauty. I swirl it around on my Makeup by Mario brush and stiffle it onto my inner eye area wherever I know my darkness is. Then I do a second application using a swirling technique.
Voila! That’s it! I do enjoy setting my makeup with the new Fix Plus Stay Over setting spray.
The Setting Powder You Need for Creaseless Under Eyes.
I’m sure you’ve heard about it over and over…The Givenchy Prisme Libre Loose Powder.
But is it worth the hype? Do you really need it? I will tell you my experience as someone who has been self-conscious of her under eyes since 5th grade
I finally got my hands on it after major back & forth whether it would be worth it, and then when I had previously ordered it from Sephora via local delivery, it was stolen before I could even try it. So I figured I didn’t need it and Sephora was kind enough to give me my money back.
But months later I still kept hearing about it, and of course, I want the best products for my clients arsenal so I decided to take the plunge for the $58 powder.
It’s not that the price point is so high for a cosmetic item.
BUT for a typical setting powder, yes absolutely it’s high.
However, whatever magic bean stock was chopped down and ground into this extremely finely milled powder is worth every cent.
Why I love it:
-it actually helped my Crow’s Feet from creasing. I tried it with several concealers (because I’m always looking for the next best concealer) and I found one of the best pairings to be with the Nars Creamy Radiant Concealer.
-Although no matter which concealer I used, I had significantly less creasing than if I went without.
I am writing this post for the bride who had to cancel or postpone her grand wedding because of the global pandemic and is either having an elopement style ceremony or simply just having a nice night with her new hubby after signing a marriage certificate. My heart aches for you and so I want to gift you a bridal makeup tutorial you can do at home. I have seen some brides still have professional photographers come and I know how pricey those photos are and want you to feel like you still look your best even without a professional makeup artist, physically, by your side.
More than just a makeup tutorial…
Now, this isn’t an ordinary makeup tutorial. This is basically a walkthrough for you on how to make your makeup application for your intimate ceremony a real treat! I’m bringing the Chelsea Rose Beauty into your home, virtually! Make sure to follow me on IG and catch the actual video on IGTV. For those of you that are not on Instagram you can actually download the video here. Okay, so you’ll need a few key ingredients to get yourself bridal ready:
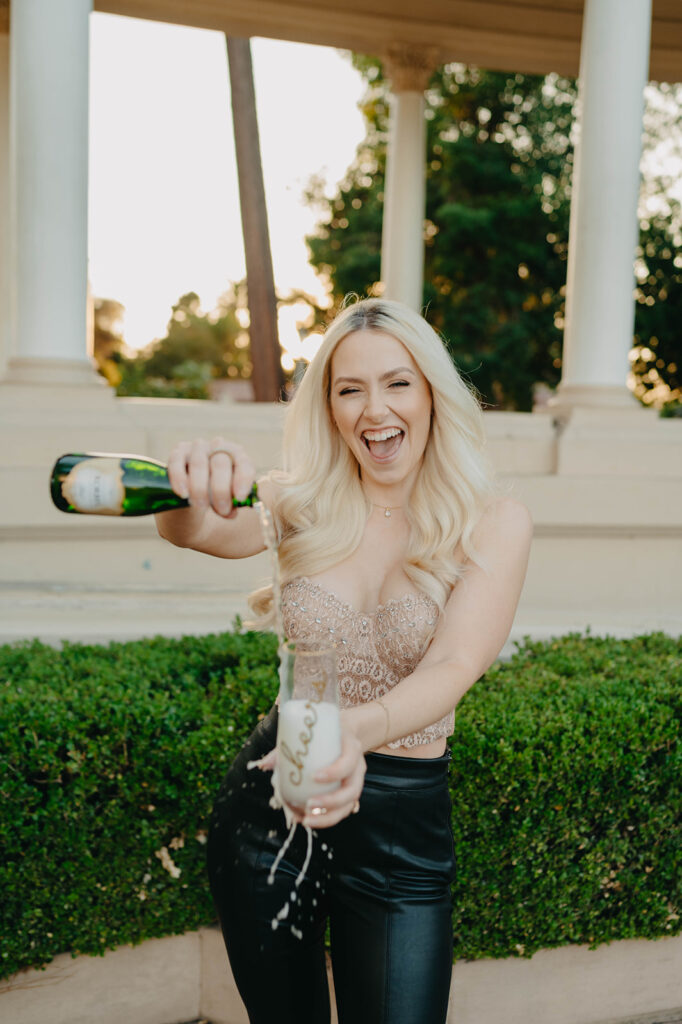
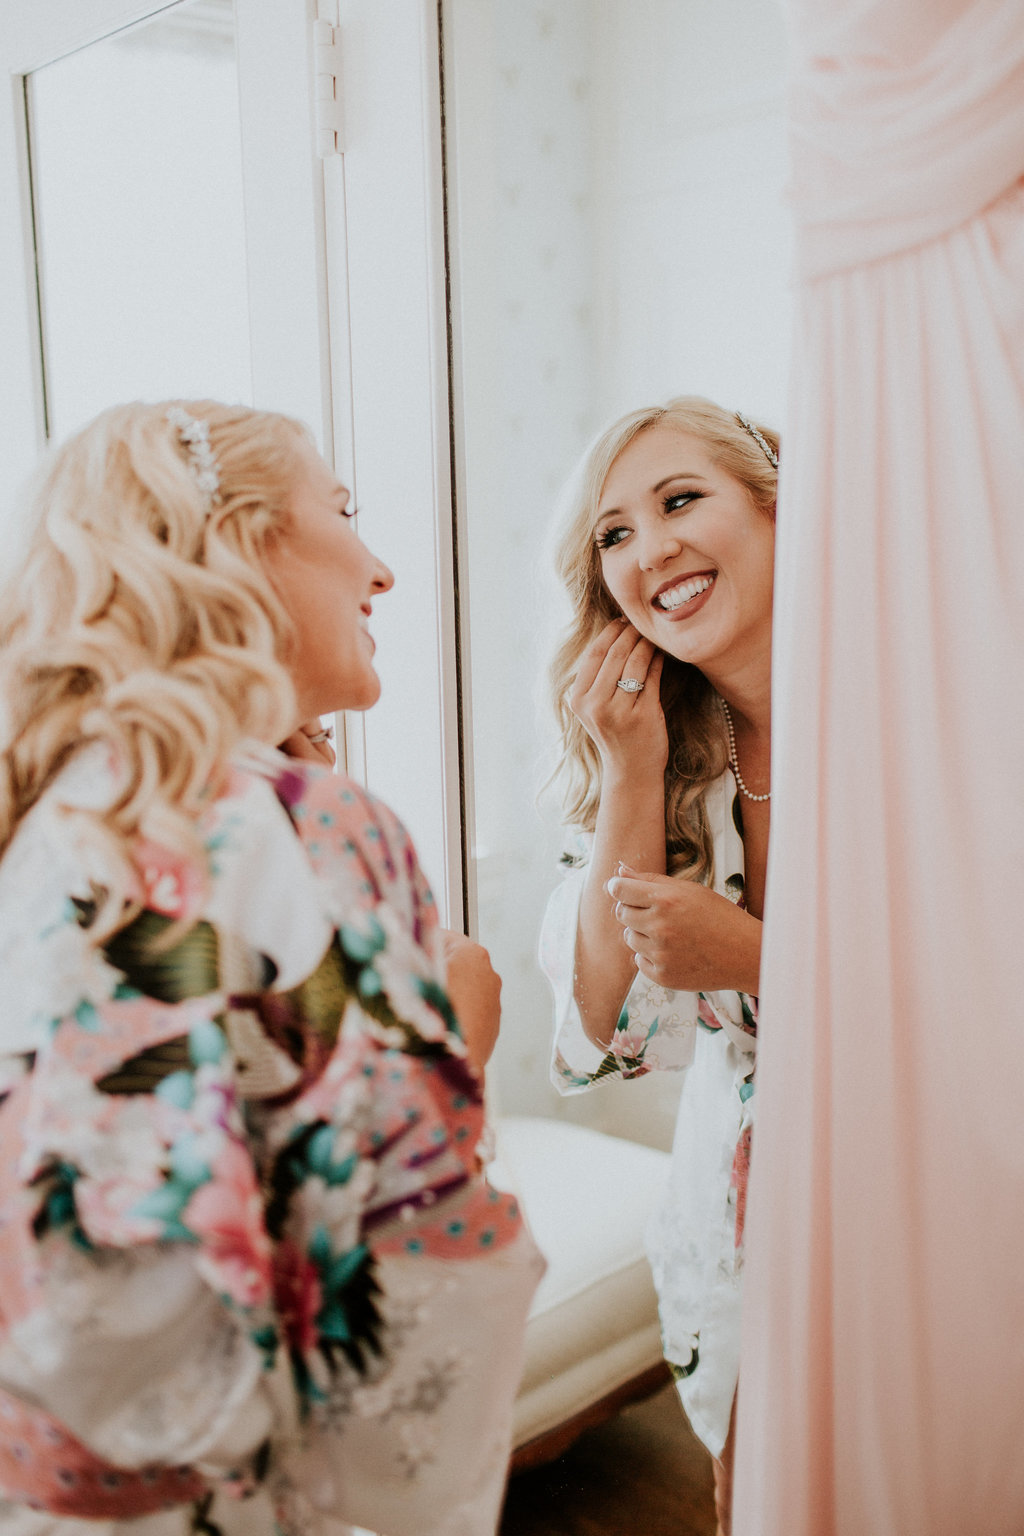
Put on your bridal robe
Get in front of some natural lighting
Bring over your makeup stash
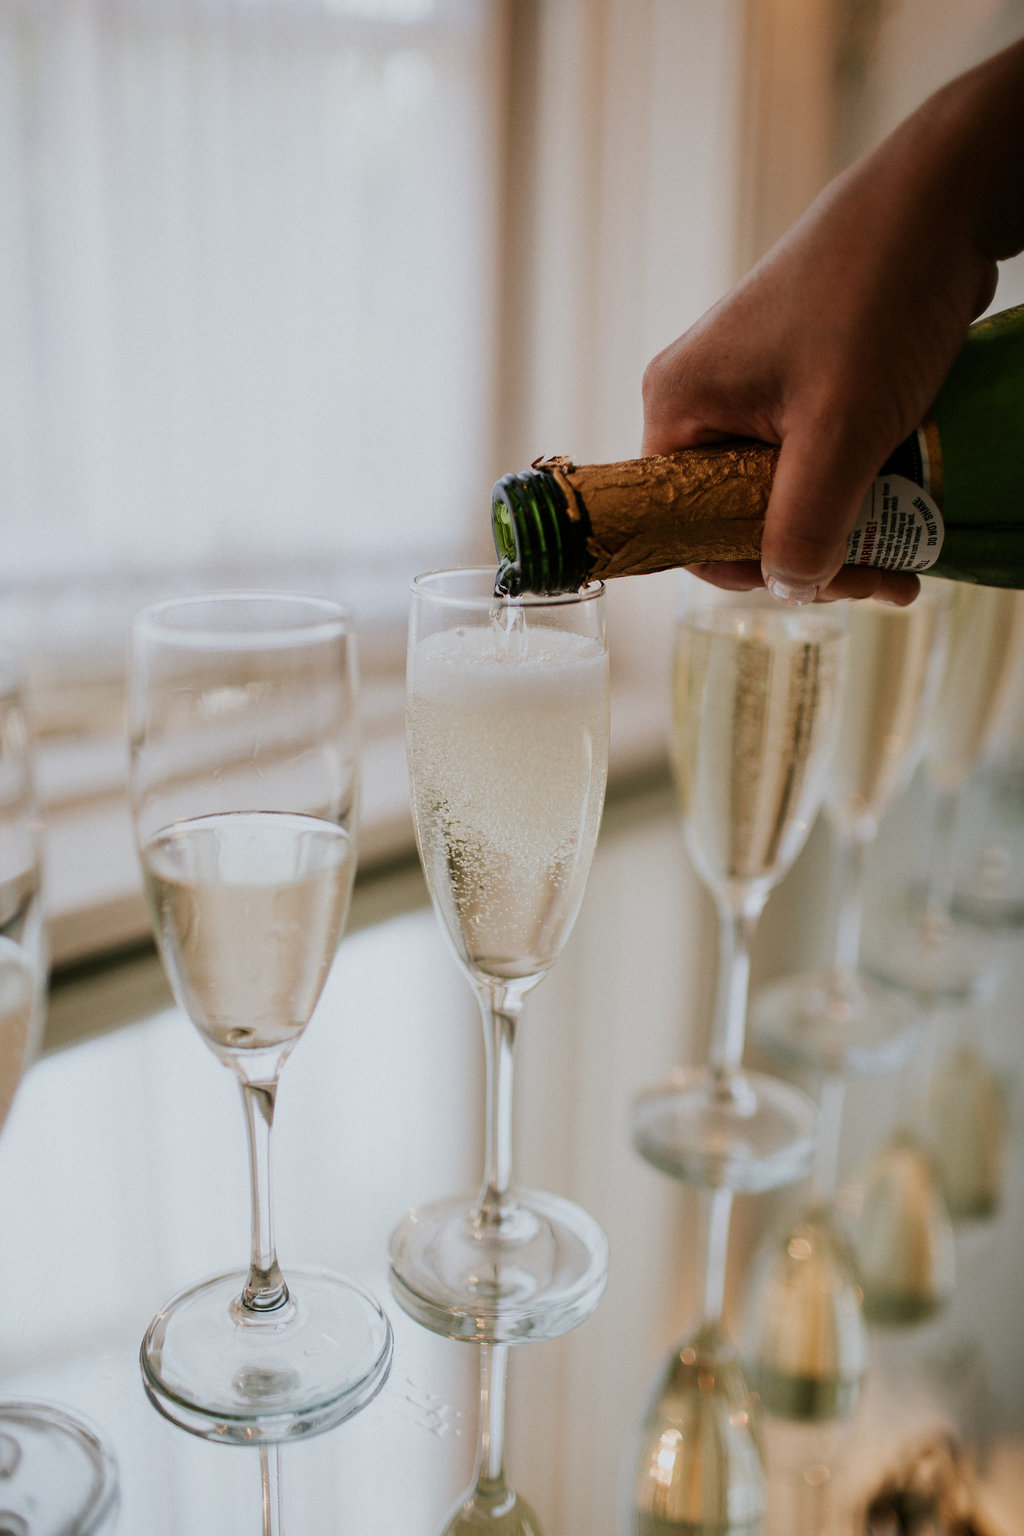
And pour yourself a glass of champagne!
The products I used that will be helpful to you
I’m not usually one for listing out products only because I think the skill is more important. However, for this video I think it’s necessary so you can get a good visual since we aren’t in person. So the products I am using for this are:
Sonia Roselli Beauty Water Elixir and Water Blam – hydrate that skin girl! The elixir is my all time favorite, especially paired with the water balm, which has a built in makeup primer.
MAC Paint Pot in Bare Study – this is acting as my eyeshadow primer (you don’t want to crease!) and also is beautiful as a pop of champagne shimmer if you want to keep it real simple
IT Cosmetics CC+ Cream – not only do I love this on a day-to-day but it also can provide you enough coverage for camera AND has sunscreen in it!
IT Cosmetics Bye Bye Under Eye – I prefer the one without the shimmer! Color Medium is my favorite because of the pink undertone to camouflage bluish or brown tone under eyes.
Senna Cosmetics Cream & Powder Blush & Eyeshadows – One of my biggest tips for makeup application is to apply a cream blush and then a powder on top. It may seem a bit much but blush is always the first thing to blend too much into the skin.
L’oreal Paris Voluminous Lash Primer – This stuff is a must-have! It help boost your lashes enough to forgo false lashes and help the mascara stay on longer. It is white looking so definitely finish with your favorite mascara (probably waterproof!)
Your favorite lipstick! I actually chose to forgo lipstick and opted for Tarte Jelly Lip Glaze in Strawberry because it’s not only super moisturizing, it’s also a very pretty shade of pink. I just lined my lips with a matching shade of lip liner to make sure my baby lips would show up just enough for camera.
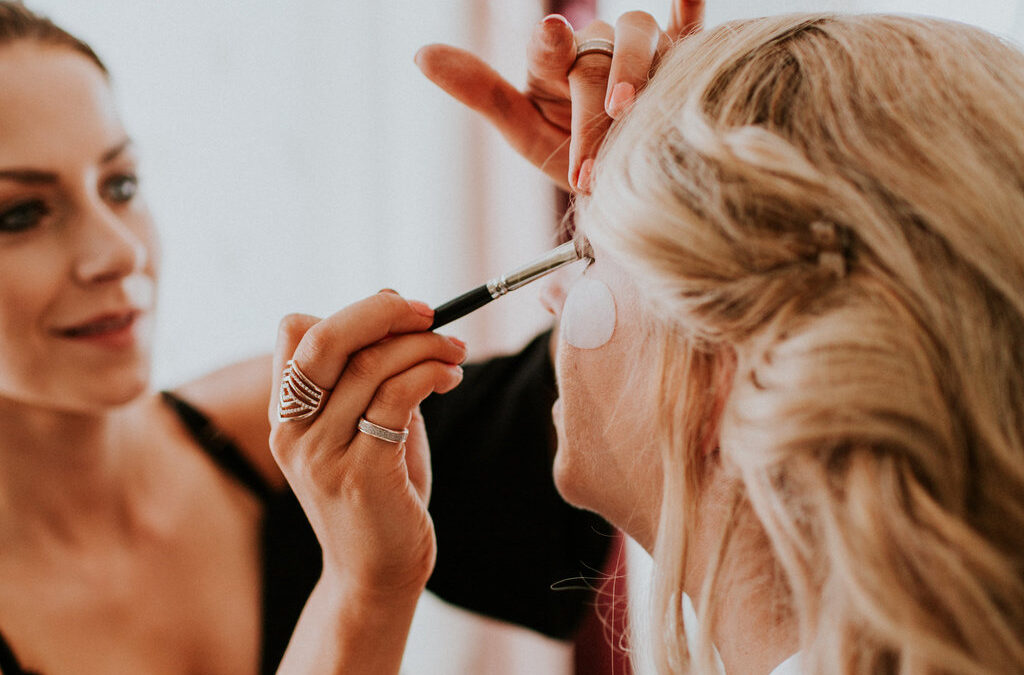
Application
Skin prep is so important to a good makeup application. Proper skin prep can help your application last longer and improve the texture! For more on skincare, check out my video with Christiana of Brave Beauty Spa here. Also, I LOVE pampering masks, so I did 24K Gold under eye masks to help me from creasing by adding moisture.
I prefer to start with the eye makeup before doing foundation so I go in within the eyeshadow primer all over the lid and buff it out. I always start with a highlighting shadow on the brow bone and inner corner of the eye. From there I take a medium shade of whichever tones you are working with (I am using warm shades). BLEND ‘TIL YOU’RE BORED! Next, I added in a super shimmery wet pigment from MAC and blended it in a tiny bit just enough to make it look seamless. Lastly, I absolutely love to add a light-medium shade with a small tapered brush to go underneath my bottom lash. I also like to and a little bit of the medium shade on the bottom outer corner for more depth.
From here I add a black eyeliner on my top waterline and bottom outer corner, on the lash line, not waterline…preference for this look. Then I’ll curl my eyelashes and apply my gel liner on top with a little wing. Next up, add that Loreal Lash primer (the holy grail) with your favorite mascara, top and bottom.
Now we are ready for under eye concealer. I love to have a peachy salmon tint to my concealer because it helps tone down the bluish tint in my dark circles. (I personally prefer one coat under foundation, and one on top, just make sure it is not the very last thing you put on).
Foundation time! I personally love to use my hands for my face foundation because the warmth helps it melt into the skin really nicely but I do like to bring it down to the neck with a flat face blending brush. Next up, add in that cream blush. You can even do this underneath the foundation if you want it super soft. Still top with a powder blush for longevity.
Bronzer! Feel free to skip this step if this is not your thing. For those that love it, go ham. Just make sure it is blended nicely. If you over do it, you can blend it with a finishing powder. I also love to apply bronzer on my big forehead so it appears smaller! Same with the nose! Just make sure you don’t make your nose look red.
My favorite step, eyebrows. I love my The Brow Gal pencil in Taupe. Fill in as desired. A little filling of the brows makes a world of a difference for camera!
Finishing steps: I used the Tarte Lip Glaze on my lips with Makeup Forever lip pencil 1C and added a little highlight on my cheekbones and collarbone! Now if you like your complexion matte, use a setting powder before you use a finishing spray, otherwise, just skip to the spray.
You did it! I hope you really enjoyed this and feel so beautiful and ready for an amazing night (or day) with your fiance!
Please share this with your girlfriends that just want to feel like a princess right now and are stressed from the affects of their wedding being postponed!