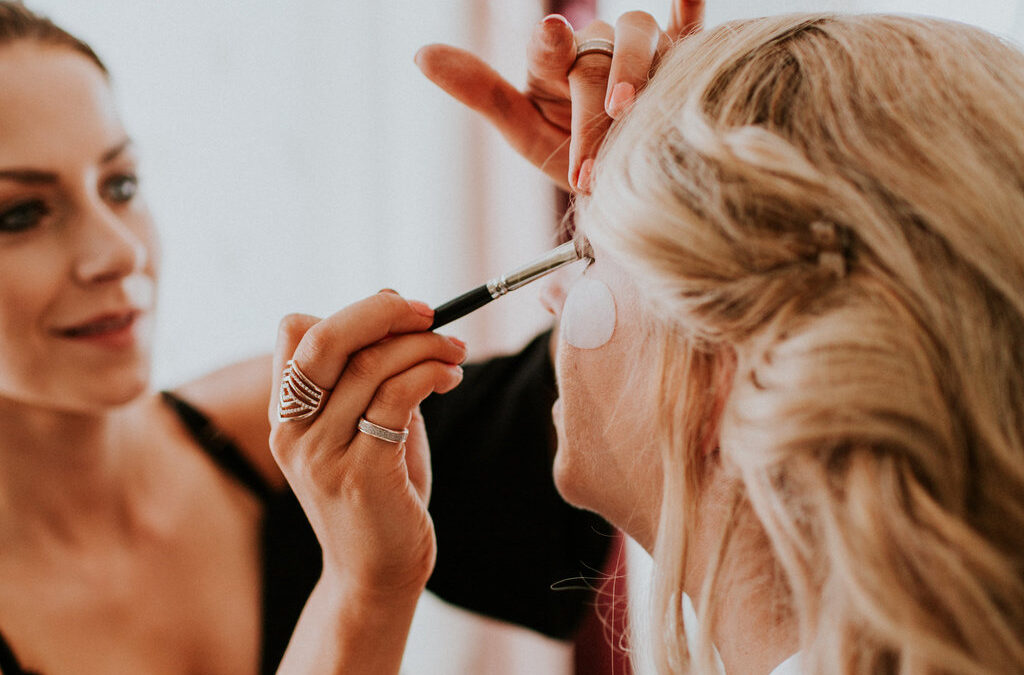
Makeup Tutorial for Brides
I am writing this post for the bride who had to cancel or postpone her grand wedding because of the global pandemic and is either having an elopement style ceremony or simply just having a nice night with her new hubby after signing a marriage certificate. My heart aches for you and so I want to gift you a bridal makeup tutorial you can do at home. I have seen some brides still have professional photographers come and I know how pricey those photos are and want you to feel like you still look your best even without a professional makeup artist, physically, by your side.
More than just a makeup tutorial…
Now, this isn’t an ordinary makeup tutorial. This is basically a walkthrough for you on how to make your makeup application for your intimate ceremony a real treat! I’m bringing the Chelsea Rose Beauty into your home, virtually! Make sure to follow me on IG and catch the actual video on IGTV. For those of you that are not on Instagram you can actually download the video here. Okay, so you’ll need a few key ingredients to get yourself bridal ready:
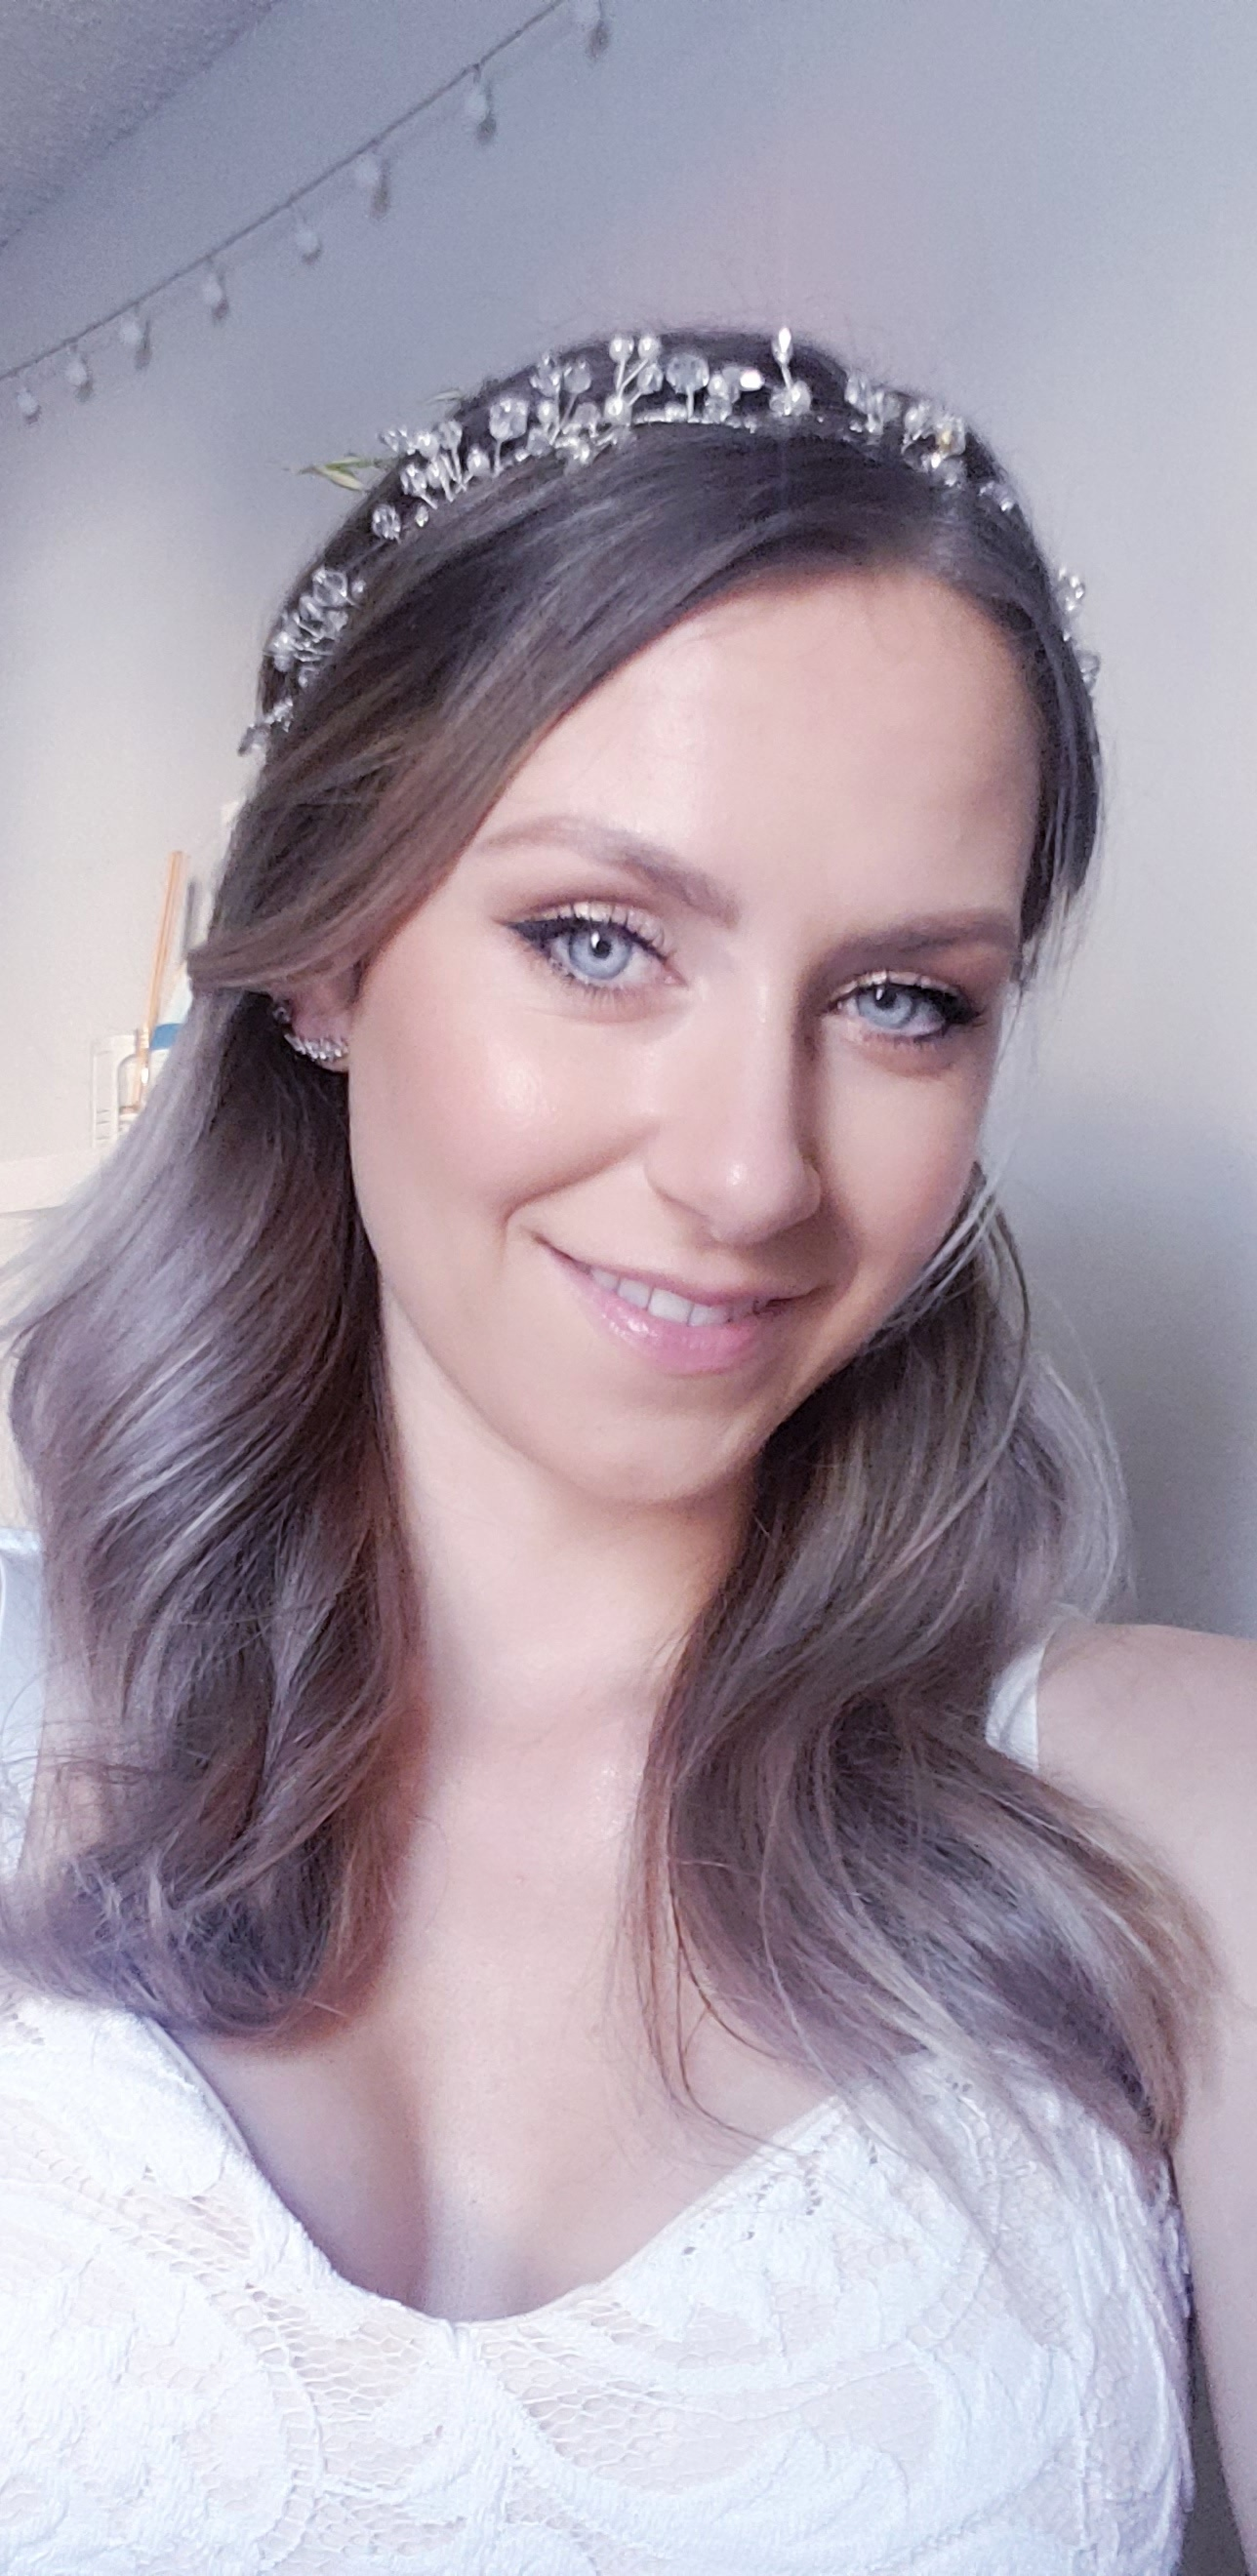
- Put on your bridal robe
- Get in front of some natural lighting
- Bring over your makeup stash
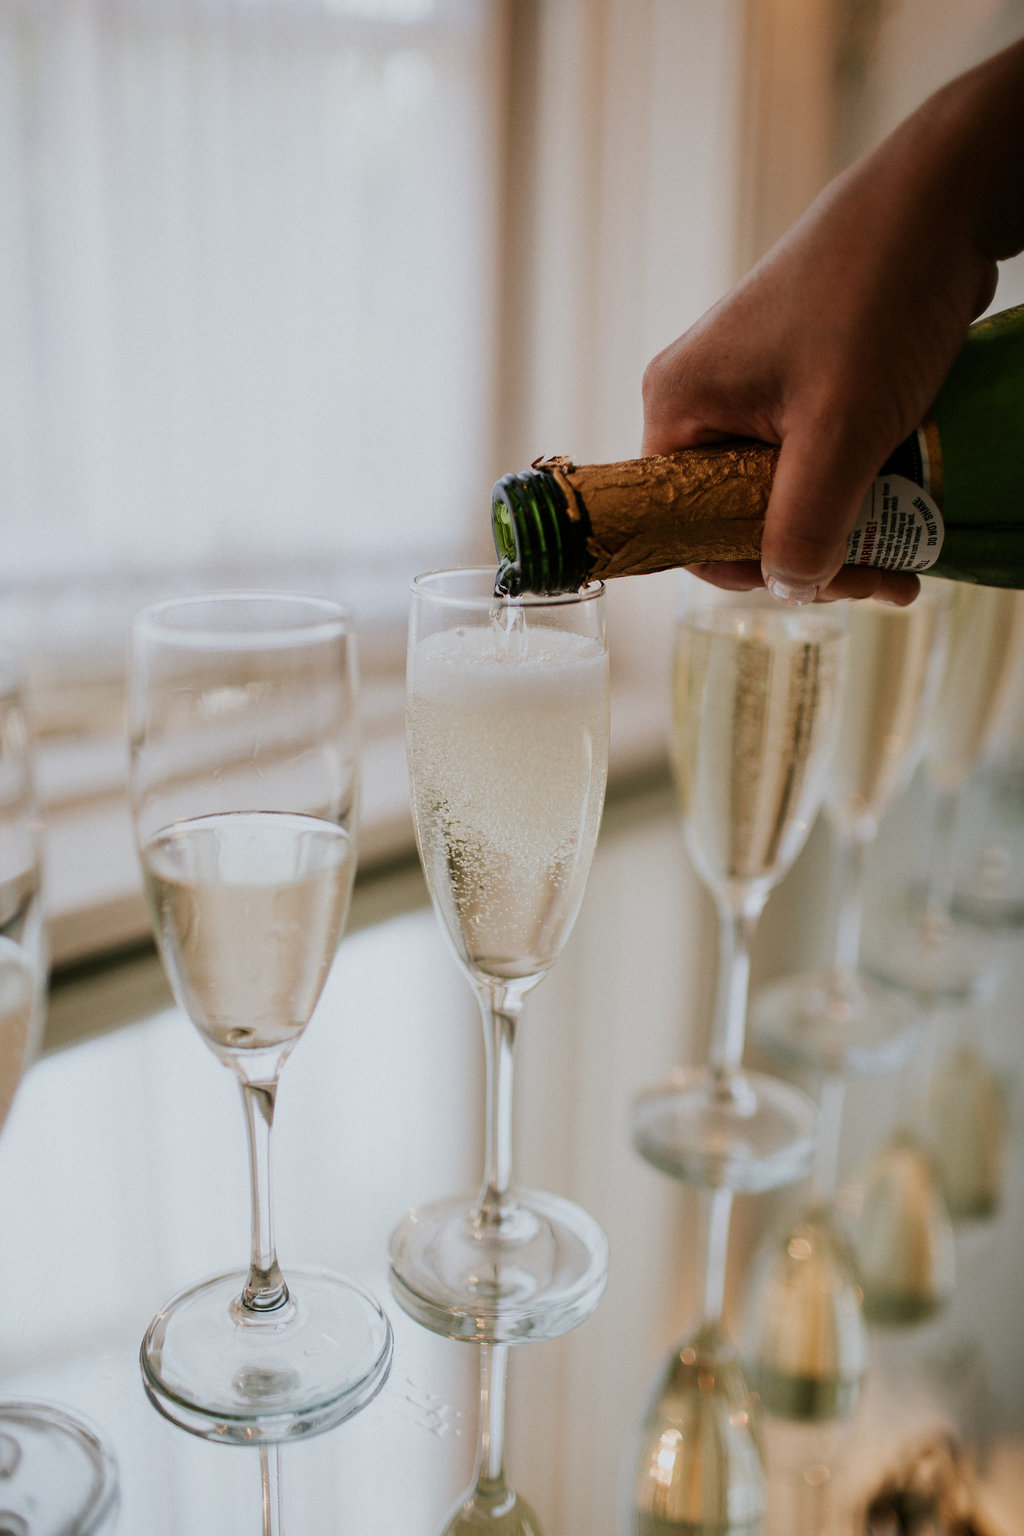
- And pour yourself a glass of champagne!
The products I used that will be helpful to you
I’m not usually one for listing out products only because I think the skill is more important. However, for this video I think it’s necessary so you can get a good visual since we aren’t in person. So the products I am using for this are:
- Sonia Roselli Beauty Water Elixir and Water Blam – hydrate that skin girl! The elixir is my all time favorite, especially paired with the water balm, which has a built in makeup primer.
- MAC Paint Pot in Bare Study – this is acting as my eyeshadow primer (you don’t want to crease!) and also is beautiful as a pop of champagne shimmer if you want to keep it real simple
- IT Cosmetics CC+ Cream – not only do I love this on a day-to-day but it also can provide you enough coverage for camera AND has sunscreen in it!
- IT Cosmetics Bye Bye Under Eye – I prefer the one without the shimmer! Color Medium is my favorite because of the pink undertone to camouflage bluish or brown tone under eyes.
- Senna Cosmetics Cream & Powder Blush & Eyeshadows – One of my biggest tips for makeup application is to apply a cream blush and then a powder on top. It may seem a bit much but blush is always the first thing to blend too much into the skin.
- L’oreal Paris Voluminous Lash Primer – This stuff is a must-have! It help boost your lashes enough to forgo false lashes and help the mascara stay on longer. It is white looking so definitely finish with your favorite mascara (probably waterproof!)
- Your favorite lipstick! I actually chose to forgo lipstick and opted for Tarte Jelly Lip Glaze in Strawberry because it’s not only super moisturizing, it’s also a very pretty shade of pink. I just lined my lips with a matching shade of lip liner to make sure my baby lips would show up just enough for camera.

Application
- Skin prep is so important to a good makeup application. Proper skin prep can help your application last longer and improve the texture! For more on skincare, check out my video with Christiana of Brave Beauty Spa here. Also, I LOVE pampering masks, so I did 24K Gold under eye masks to help me from creasing by adding moisture.
- I prefer to start with the eye makeup before doing foundation so I go in within the eyeshadow primer all over the lid and buff it out. I always start with a highlighting shadow on the brow bone and inner corner of the eye. From there I take a medium shade of whichever tones you are working with (I am using warm shades). BLEND ‘TIL YOU’RE BORED! Next, I added in a super shimmery wet pigment from MAC and blended it in a tiny bit just enough to make it look seamless. Lastly, I absolutely love to add a light-medium shade with a small tapered brush to go underneath my bottom lash. I also like to and a little bit of the medium shade on the bottom outer corner for more depth.
- From here I add a black eyeliner on my top waterline and bottom outer corner, on the lash line, not waterline…preference for this look. Then I’ll curl my eyelashes and apply my gel liner on top with a little wing. Next up, add that Loreal Lash primer (the holy grail) with your favorite mascara, top and bottom.
- Now we are ready for under eye concealer. I love to have a peachy salmon tint to my concealer because it helps tone down the bluish tint in my dark circles. (I personally prefer one coat under foundation, and one on top, just make sure it is not the very last thing you put on).
- Foundation time! I personally love to use my hands for my face foundation because the warmth helps it melt into the skin really nicely but I do like to bring it down to the neck with a flat face blending brush. Next up, add in that cream blush. You can even do this underneath the foundation if you want it super soft. Still top with a powder blush for longevity.
- Bronzer! Feel free to skip this step if this is not your thing. For those that love it, go ham. Just make sure it is blended nicely. If you over do it, you can blend it with a finishing powder. I also love to apply bronzer on my big forehead so it appears smaller! Same with the nose! Just make sure you don’t make your nose look red.
- My favorite step, eyebrows. I love my The Brow Gal pencil in Taupe. Fill in as desired. A little filling of the brows makes a world of a difference for camera!
- Finishing steps: I used the Tarte Lip Glaze on my lips with Makeup Forever lip pencil 1C and added a little highlight on my cheekbones and collarbone! Now if you like your complexion matte, use a setting powder before you use a finishing spray, otherwise, just skip to the spray.
You did it! I hope you really enjoyed this and feel so beautiful and ready for an amazing night (or day) with your fiance!
Please share this with your girlfriends that just want to feel like a princess right now and are stressed from the affects of their wedding being postponed!